Clip Using Slot Cut Pattern
You can use an existing path (HPGL .plt files) as a clipping path for a template.
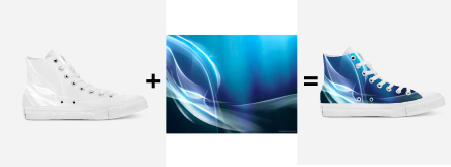
For example, clipping can create a fixed path for a shoe print.
Required:
- Slot must have cut path assigned
- Job may be clipped once
- Slot ID cannot be repeated for multiple slots
To create a clipping path:
- Create clipping paths using , Illustrator, or CorelDraw.
Note: Scale the path size in the design application before exporting. - Export the paths (HPGL .plt files) and save them in the following folder: C:\Program Name\cutpatterns.
For example: With the shoe template, you could name the clipping path "BlueShoePath_sizeX.plt".
Set up a template:
- Select a queue.
- On the Queue tab, select the Template drop-down and click the ellipsis button to edit or click Add New Media.
- Create or modify a template and add a custom cut pattern.
For example: With the shoe template, you could name the template "Blue Shoe size X". - Set the scaling and rotation.
Note: The path is centered in the slot. - Ensure you position the slot for the clipping path using the size and position fields.
- When finished, click Save.
To clip a job:
Note: To clip on import, go to Queue > Properties > PDF Setup.
- Ensure the template media you created is selected in the Queue tab.
The clipping path should show in the preview. - Add a job to the same queue.
The Import Template Job dialog appears. - Make an import selection.
- Adjust the size and position of the graphic.
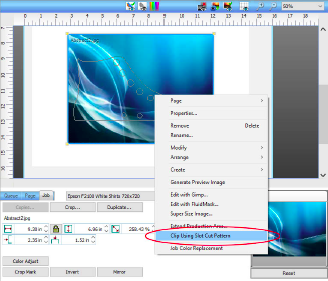
Note: Ensure you are done editing prior to clipping. - Right-click the job in the preview and select Clip Using Slot Cut Pattern or select the job and go to Jobs > Clip Using Slot Cut Pattern.
The job is clipped to the slot cut pattern. - Click Print.
Fiery family of software products
Making your machines run better
Copyright © 2026, Fiery LLC. All rights reserved. Privacy Policy.