Note: These materials are offered only in English as supplementary examples for a deeper dive into
Creating ICC profiles in 3rd party applications
You can use 3rd party profiling software to create ICC profiles, these programs use standard ICC profiles and supports both version 2 and 4 formats.
IMPORTANT NOTE: ICC Profiles are the last stage of creating a print mode and while are very important to a print mode, they are only part of the solution. There are three basic stages to a print mode, ink limiting, calibration, and ICC creation. While creating a new ICC profile can fix a lot of problems, it cannot by itself fix all problems. In many instances, you may be using a media that requires more or less ink to get the best results and fix issues such as coalescence and bleeding and this can't be done with just a new ICC profile.
Overview
To create an ICC profile using 3rd party software (such as ProfileMaker and iProfiler), add the charts to the queue (these are typically TIF files) and select the print mode for which you want to create the ICC profile.
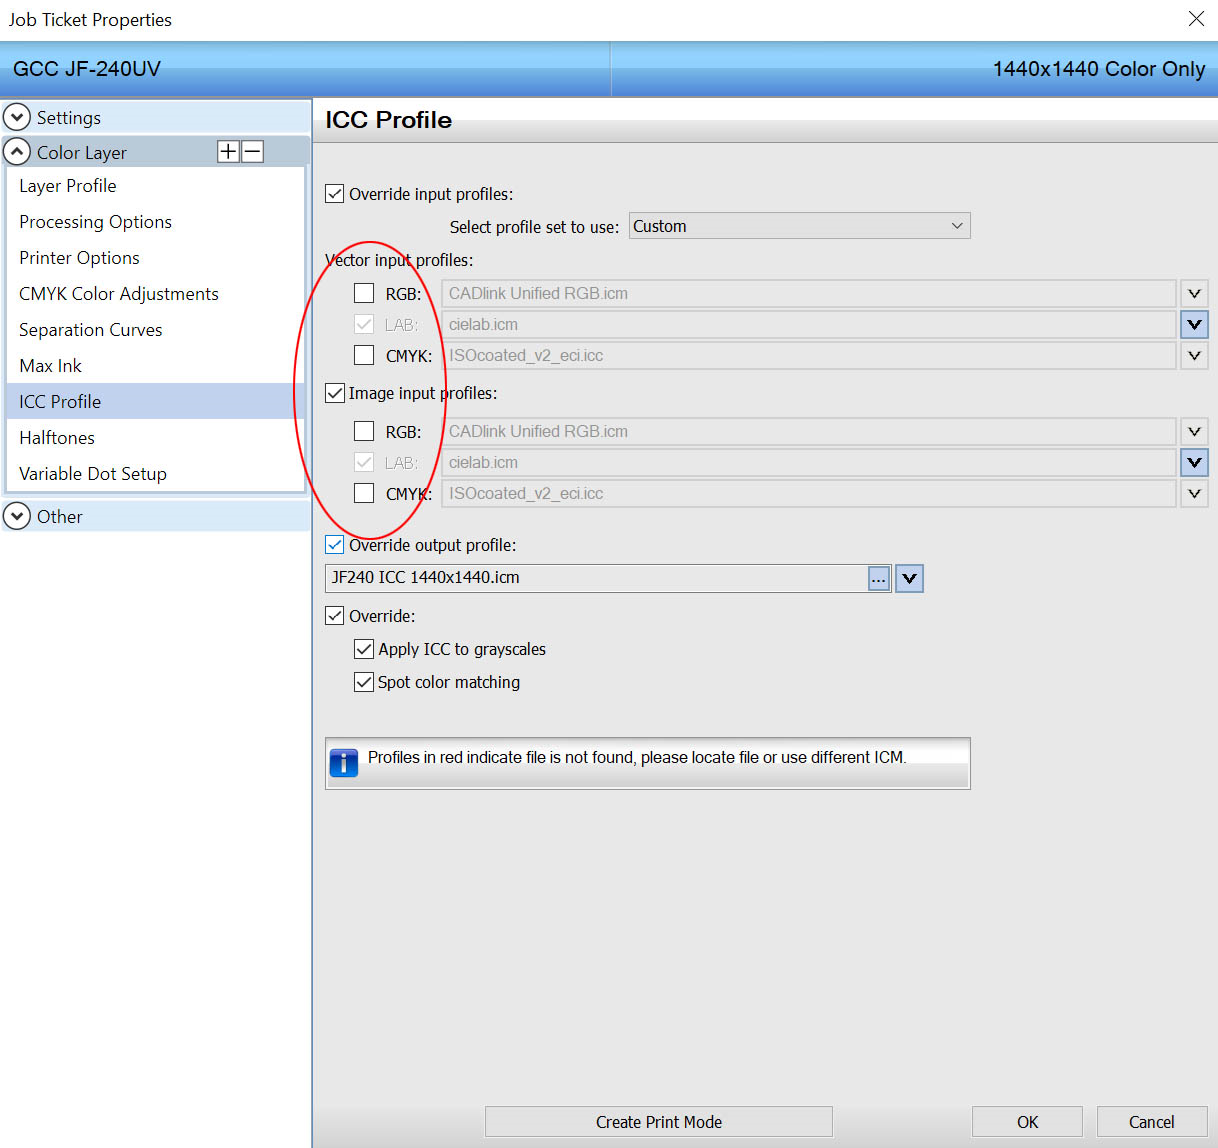
Go to the Job Properties for each of the charts you are printing and then go to the ICC tab.
Disable the RGB and CMYK input profiles. This will disable the ICC process.
You can then read the charts with your spectrophotometer and create the ICC profile.
Important – Setting up a new print mode for your ICC profile
Once the ICC profile is created move it to the install directory and place it in the following:
\Rip\system\clinks\shortname\
Where shortname is the shortname of the printer you are using, if you link the ICC profile from another location (such as your desktop) then if you move the print mode to another computer you will get an error.
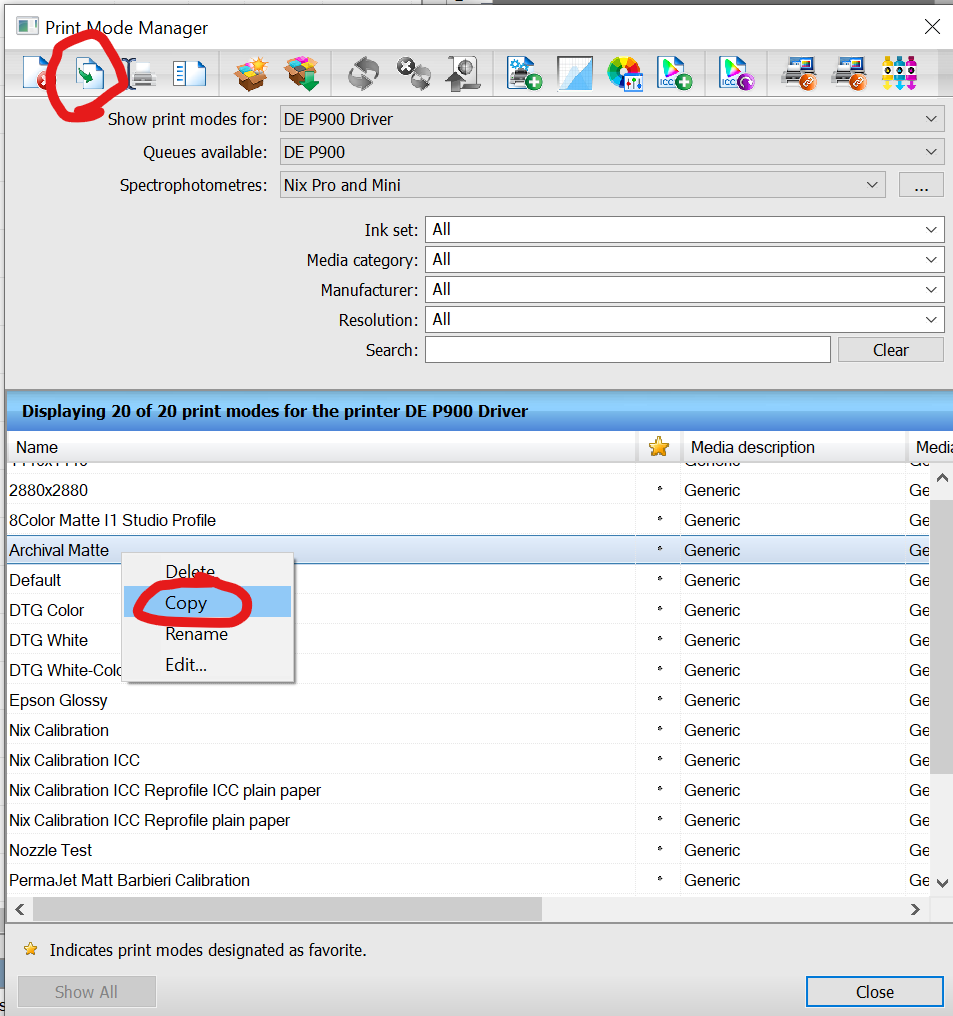
To setup a new print mode using the new ICC profile, go to Devices > Manage Print Modes.
Make a copy of the print mode you used to print the charts with and give it a new name
Right-click on the print mode and select copy or select the print mode and click on the Copy icon.
Note: It is very important that you use the same print mode. An ICC printed with a different print mode will not give you the correct results, as it is also dependent on variable dot setup, the CMYK color adjustments, and printer options.
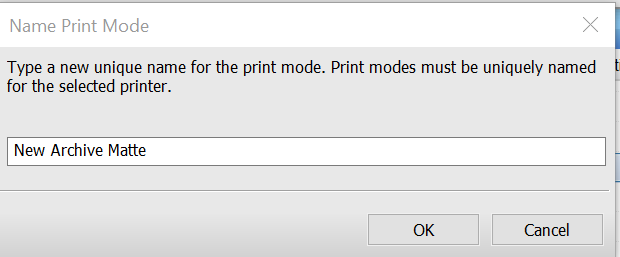
Give the new print mode an appropriate name.
Edit the print mode and go to the ICC tab and click on the … in the selection box of the output ICC profile.
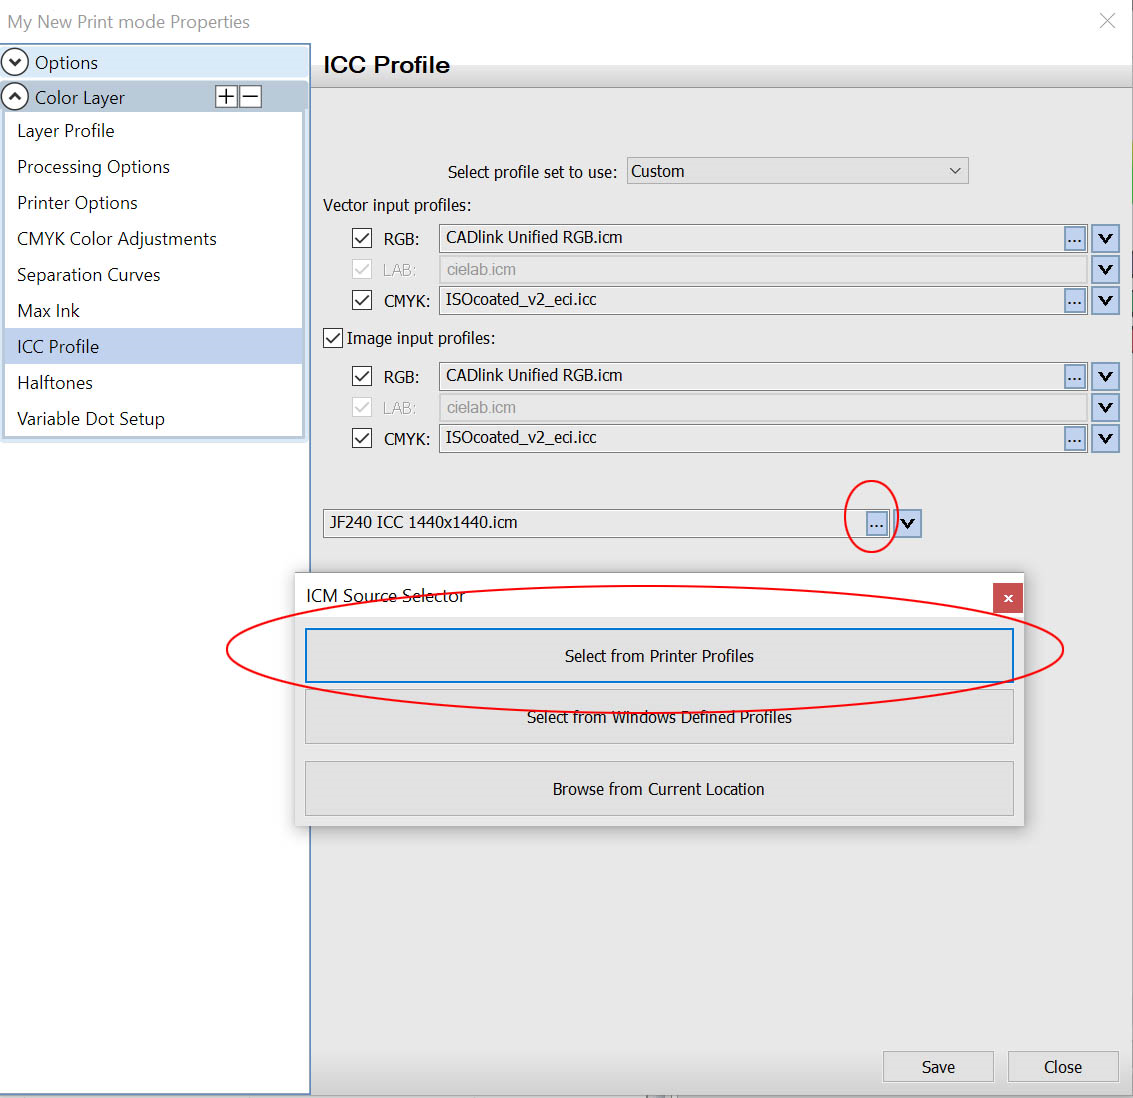
Then select from Printer Profiles (this will take you to \Rip\system\clinks\ and from there select the folder of the shortname of the printer where you moved the new ICC into and select your new profile.
Most 3rd party software will create the ICC profile in the Windows ICM folder:
C:\Windows\System32\spool\drivers\color
You can link directly to this ICC by selecting Select from Windows Defined Profiles, but if you export the profile to use on another computer it may not work.
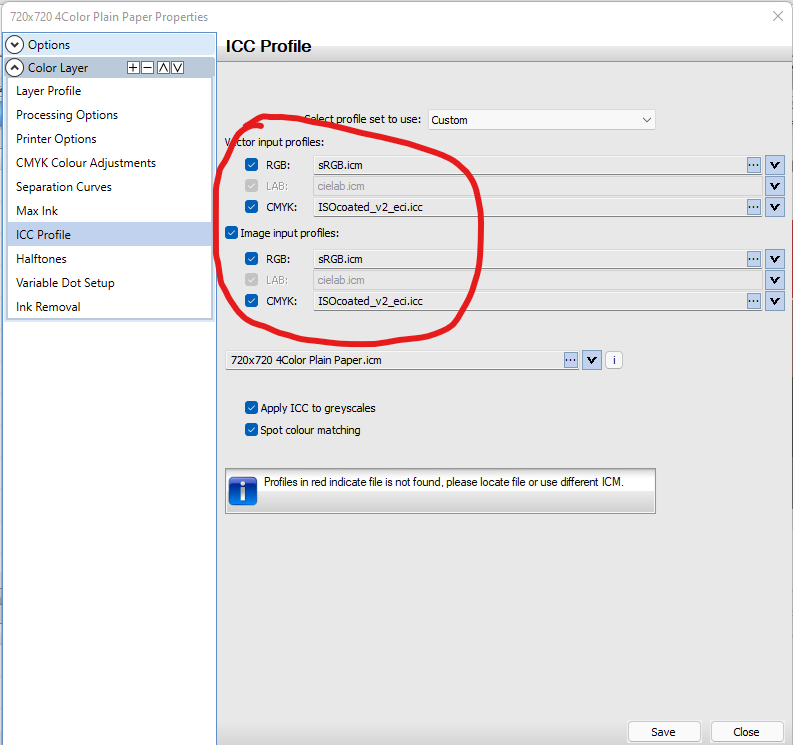
Make sure you have enabled the input profiles and choose some appropriate default input profiles for jobs that do not contain input ICC profiles, based on your own preferences.
If unsure, use sRGB and ISOCoated, from the drop-down.
Click Save and your print mode is ready for testing.
Select your new print mode as the default print mode for your queue, add you test page and print.
Step by Step Creating a profile using i1 Studio and ColorChecker Studio
First make sure that the version of I1 Studio /ColorChecker Studio has support for printers as there are versions that will only support profiling monitors and cameras.
When you start I1 Studio you will see a Color Print option, if this option is not available it means the version of the software does not support printer profiling.
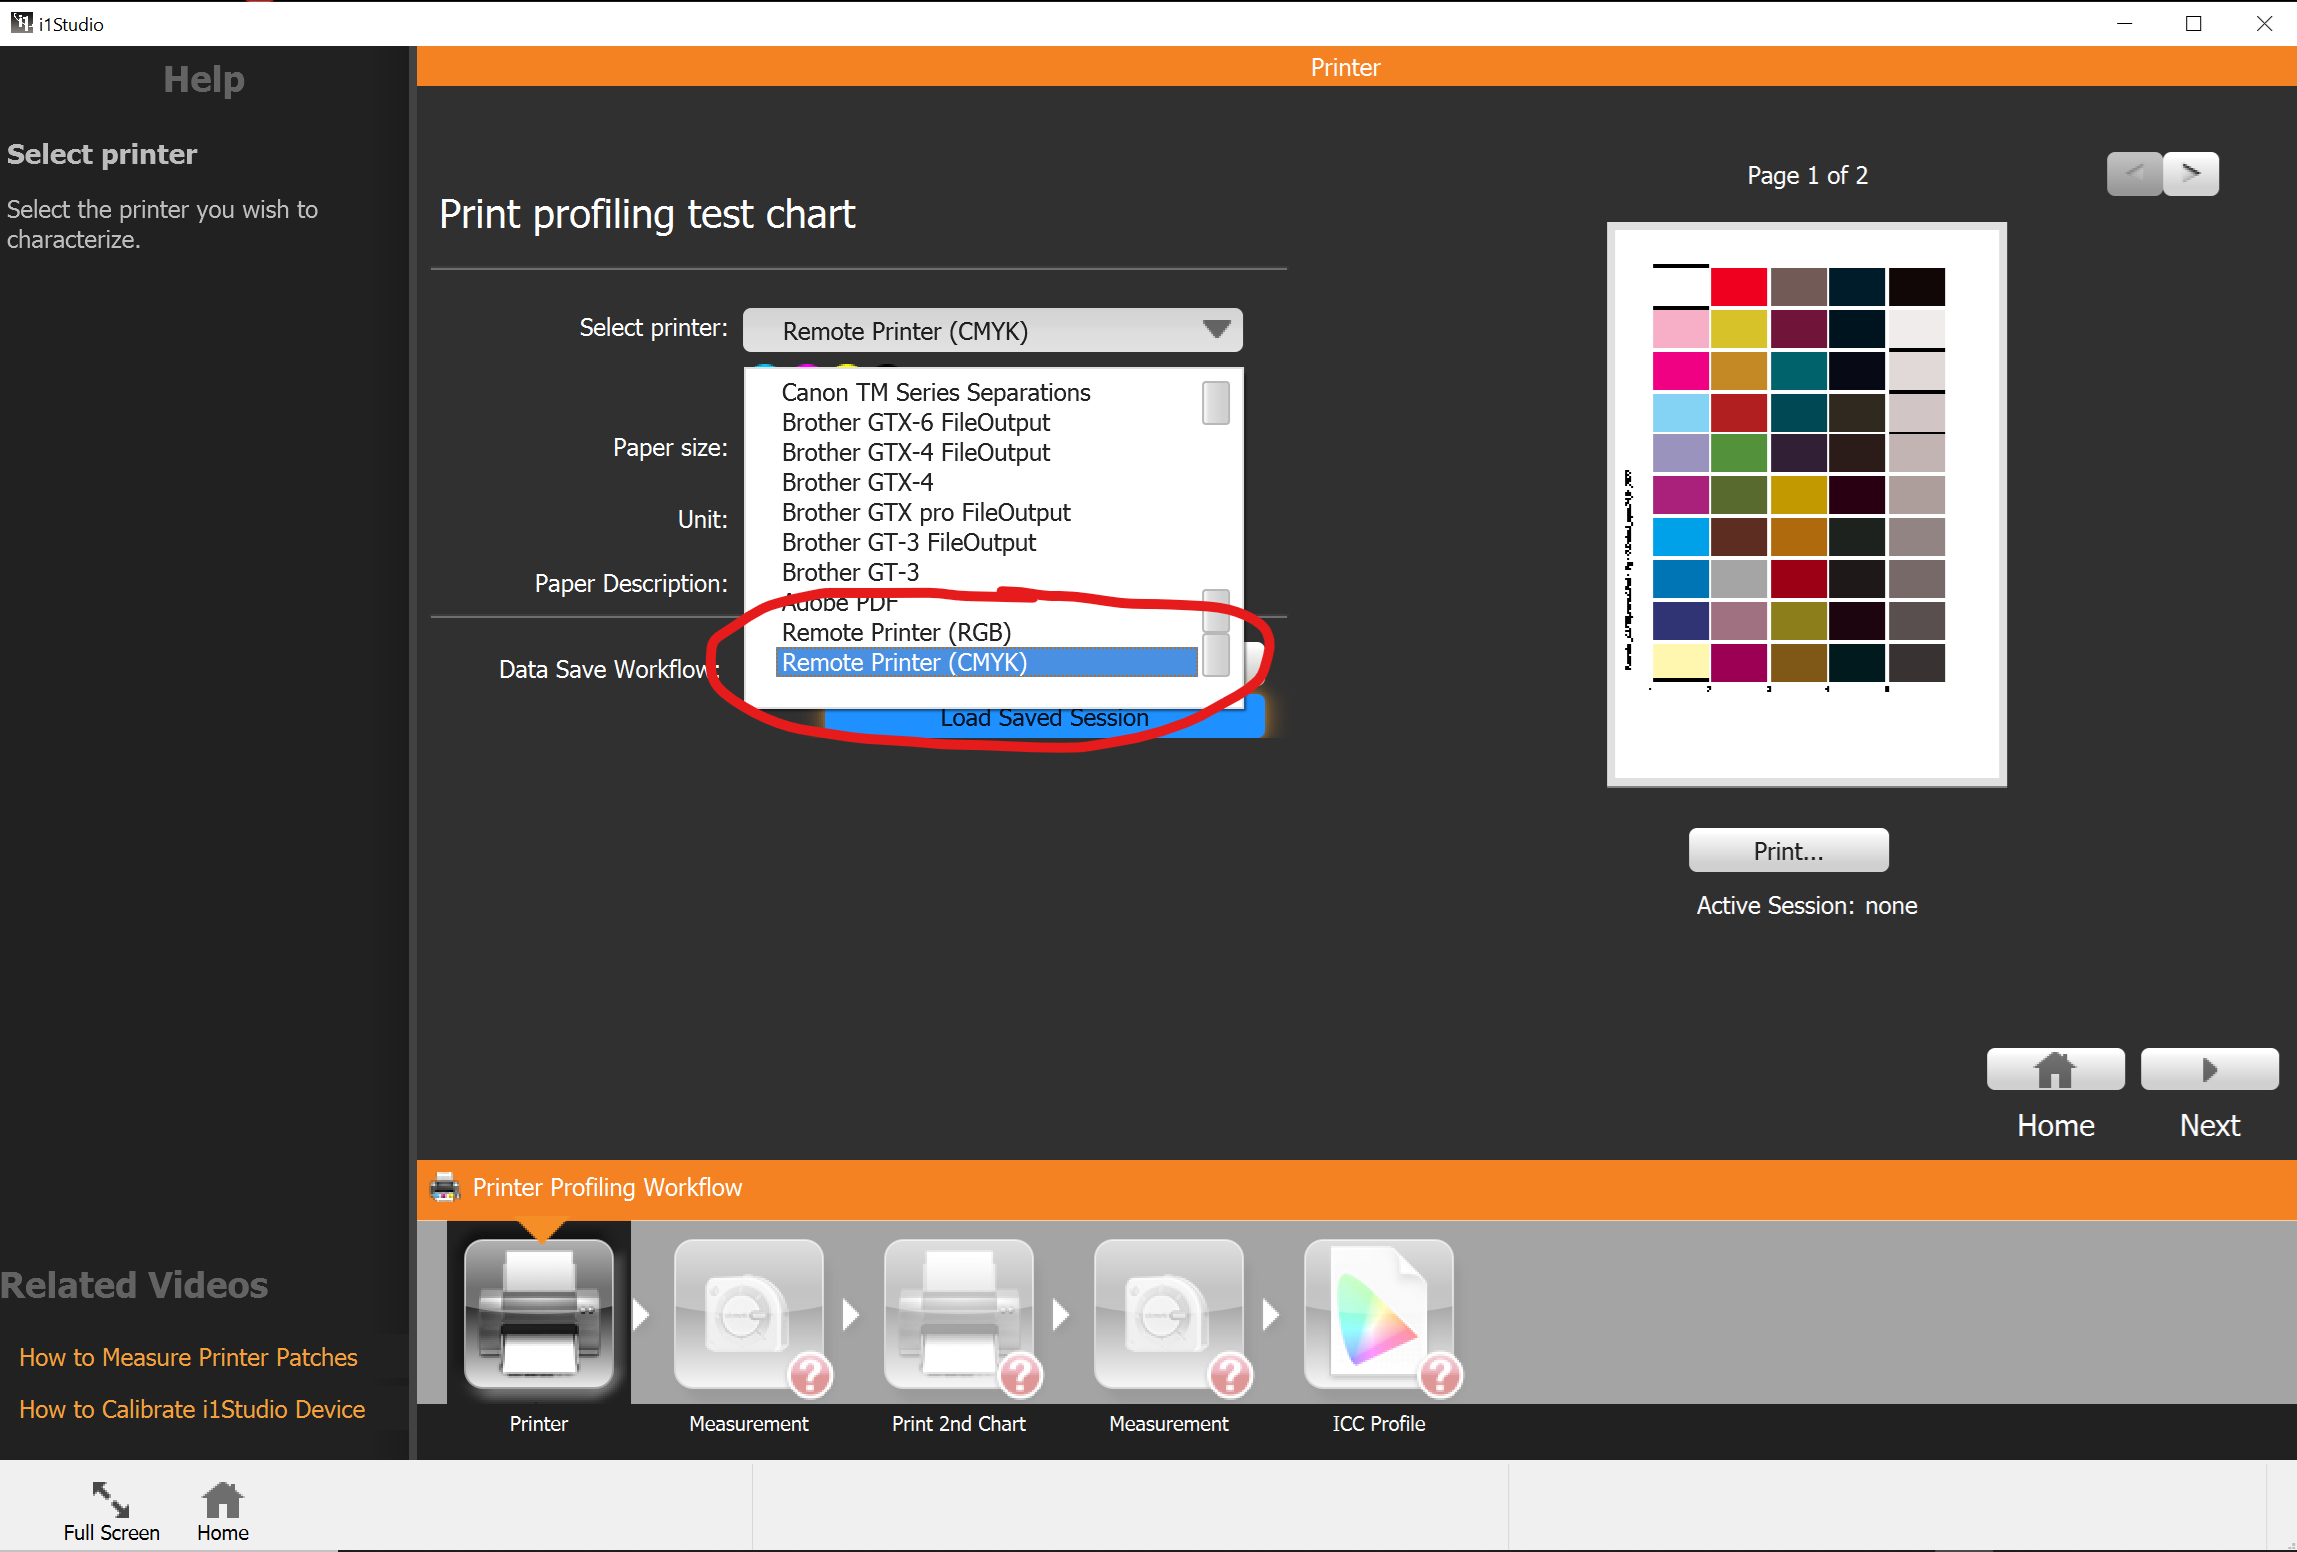
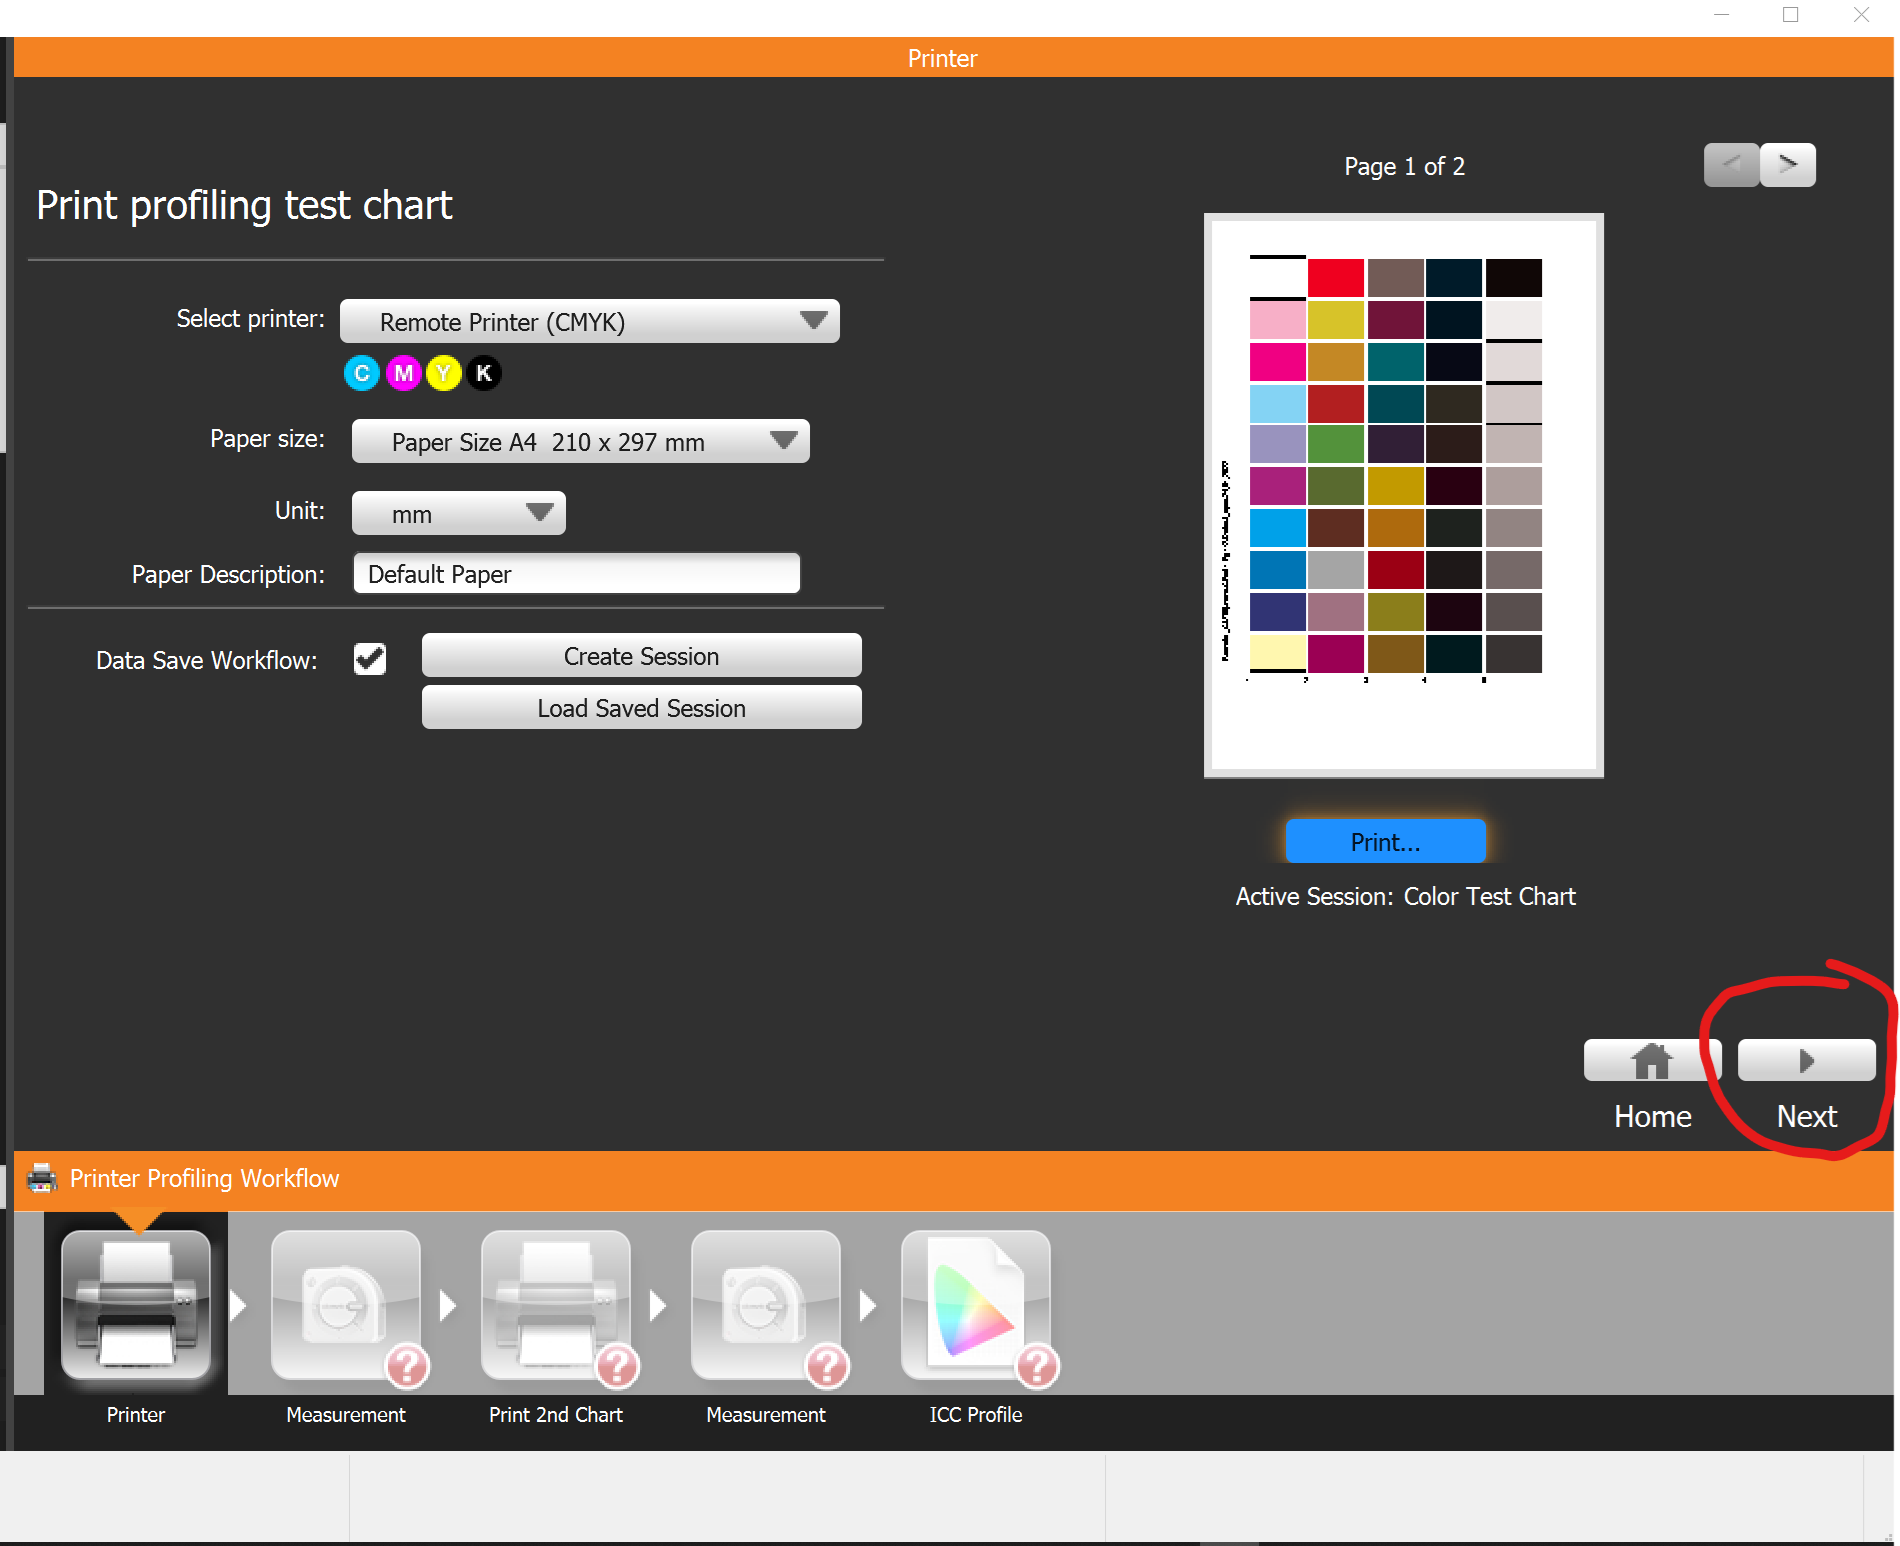
Select Color Print option in i1 Studio.

In the top drop down select Remote Printer (CMYK) for a CMYK printer or RGB for RGB / CMY device.
Click Create Session.
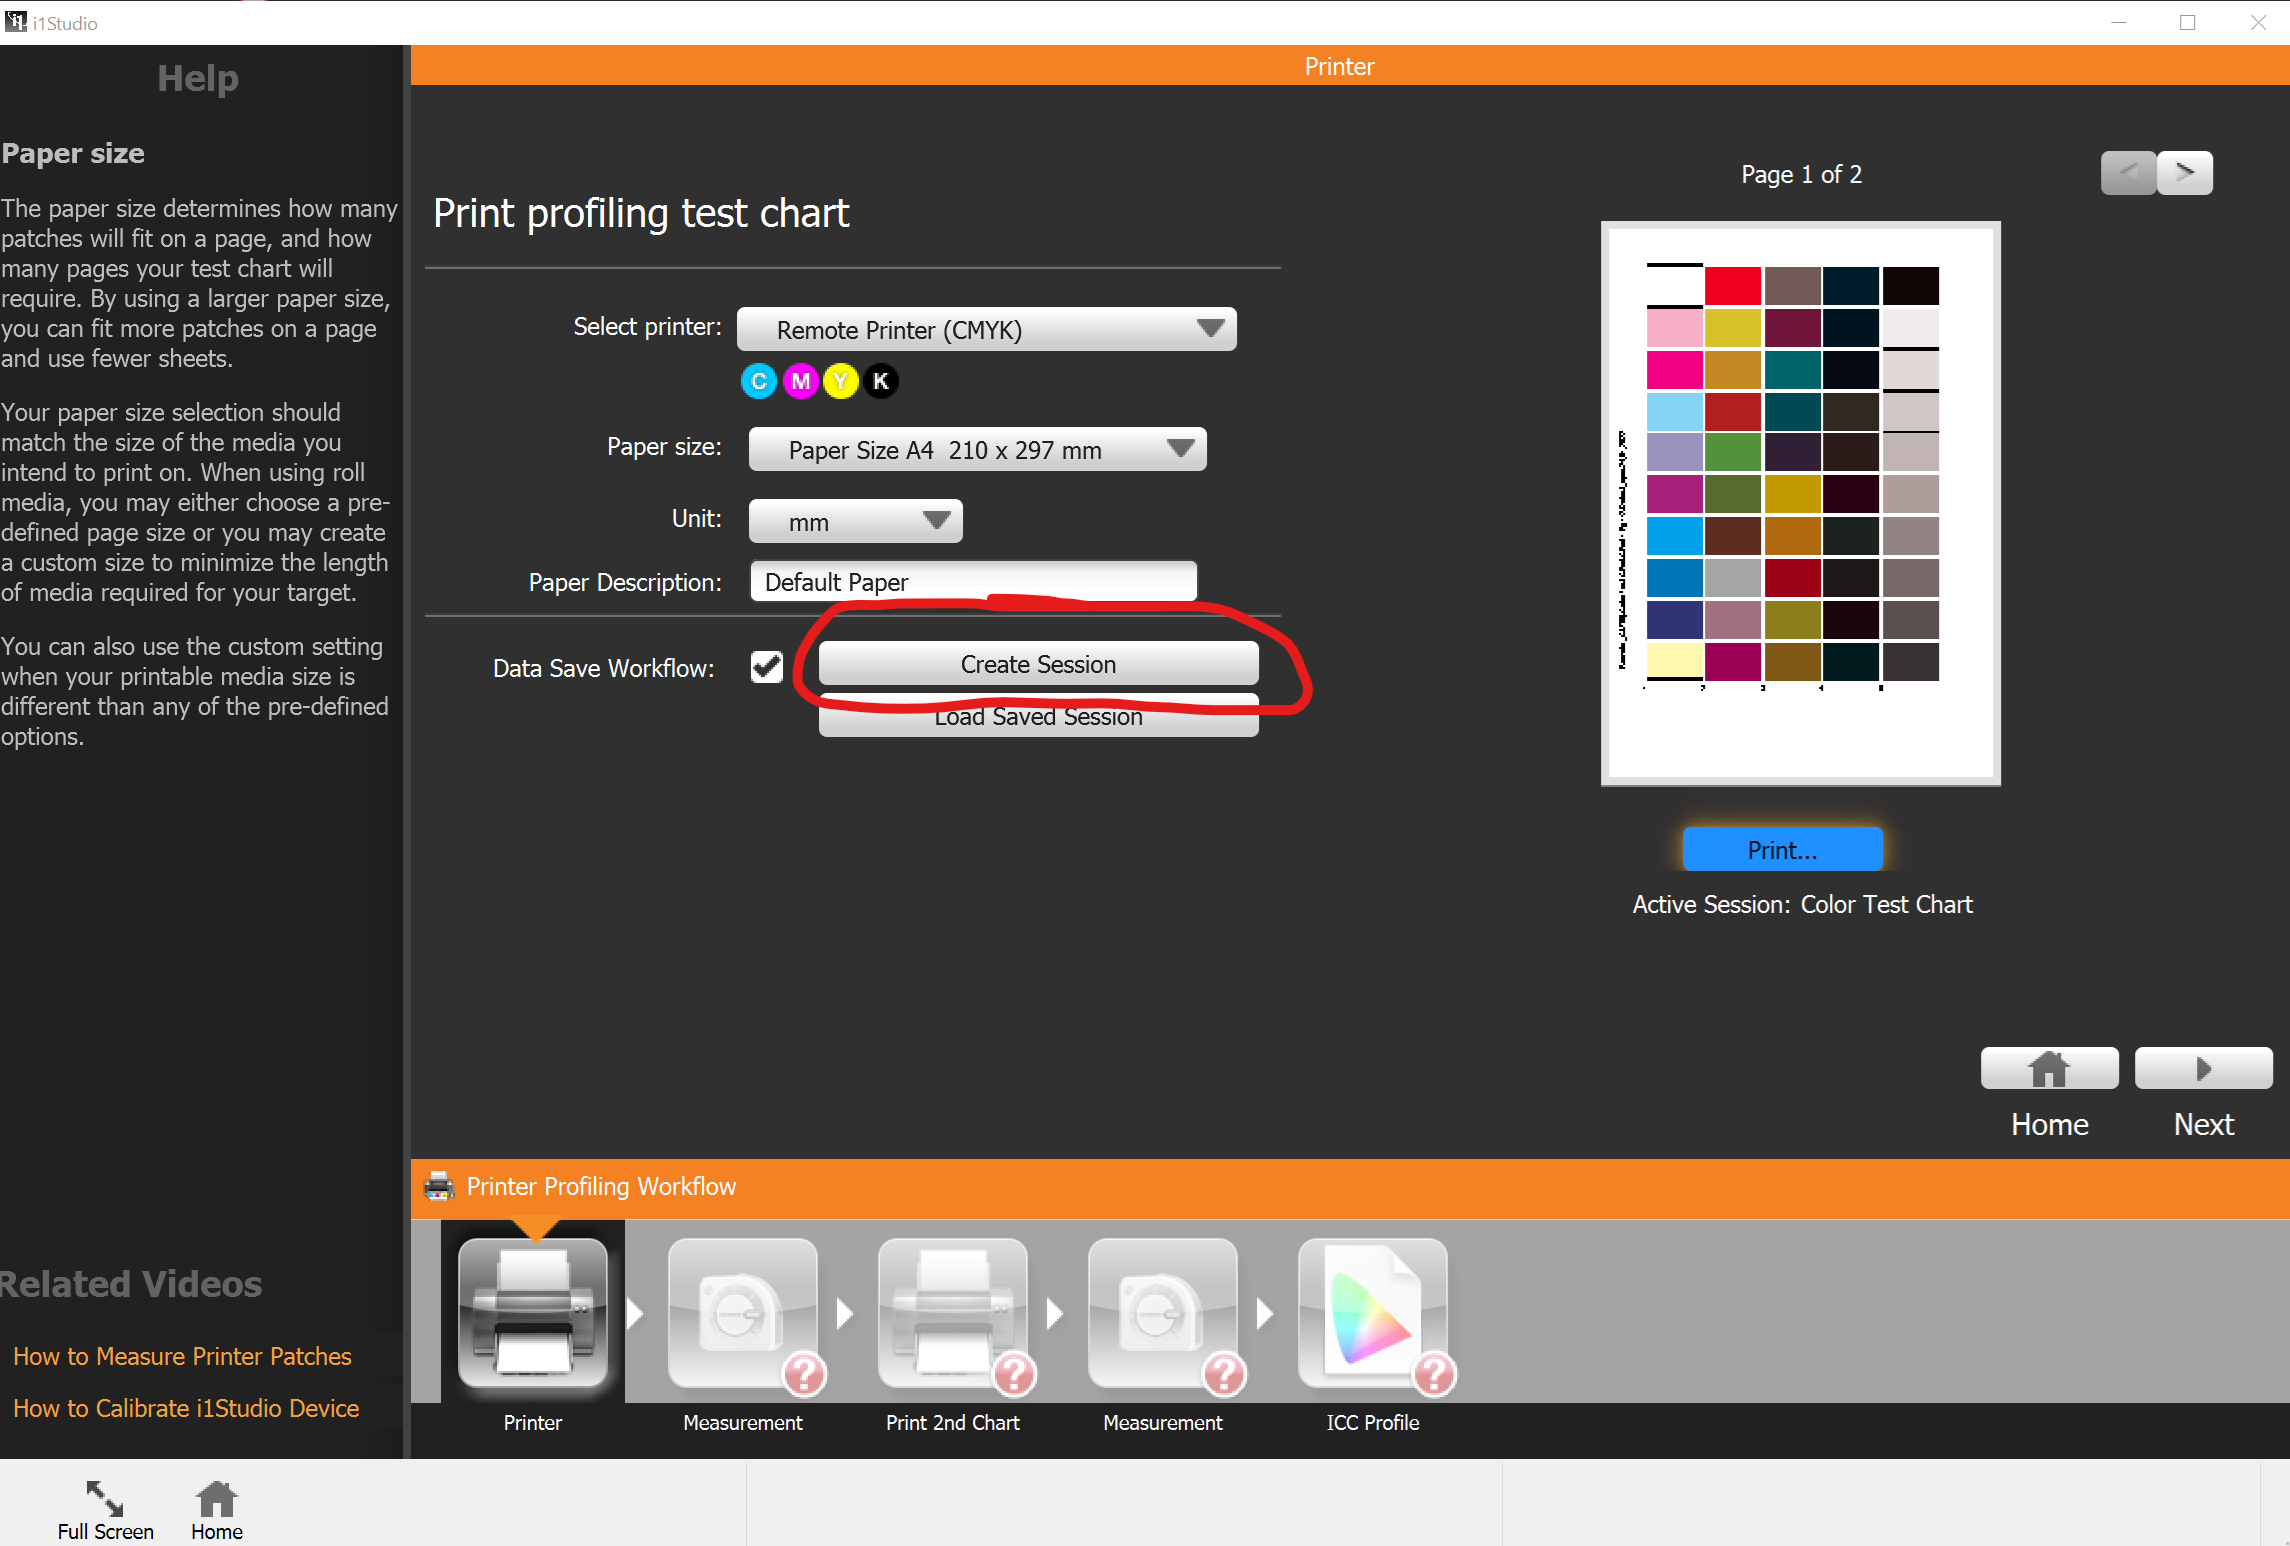
This will then give you a Save As dialog, by default to a folder on the desktop called i1Studio Tiffs, and will create two TIF files with your selected name “Color Test Chart” by default.
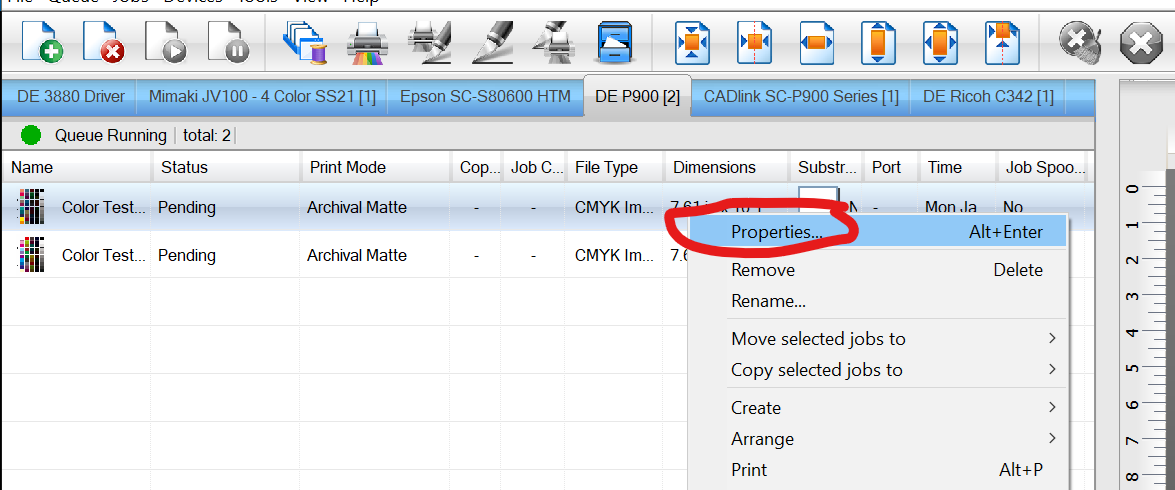
In Digital Factory, select the queue and print mode for which you want to create the new profile, and add then two TIFF files to your queue.

Before printing these charts, you must disable the ICC processing on the existing ICC profile, to do this, right-click on each job and select Properties.
Go to the ICC Profile tab and deselect all the input profiles.

IMPORTANT: You must do this for both jobs.
You can now print these charts. Make sure you are using the correct media and all the settings in printer options that you want for the new profile. If you change resolution or other settings, it can make the profile invalid and you will have to start again.
I would also recommend:
-
centering on the page
-
do not re-size
-
make sure you print these charts at 100% scaling
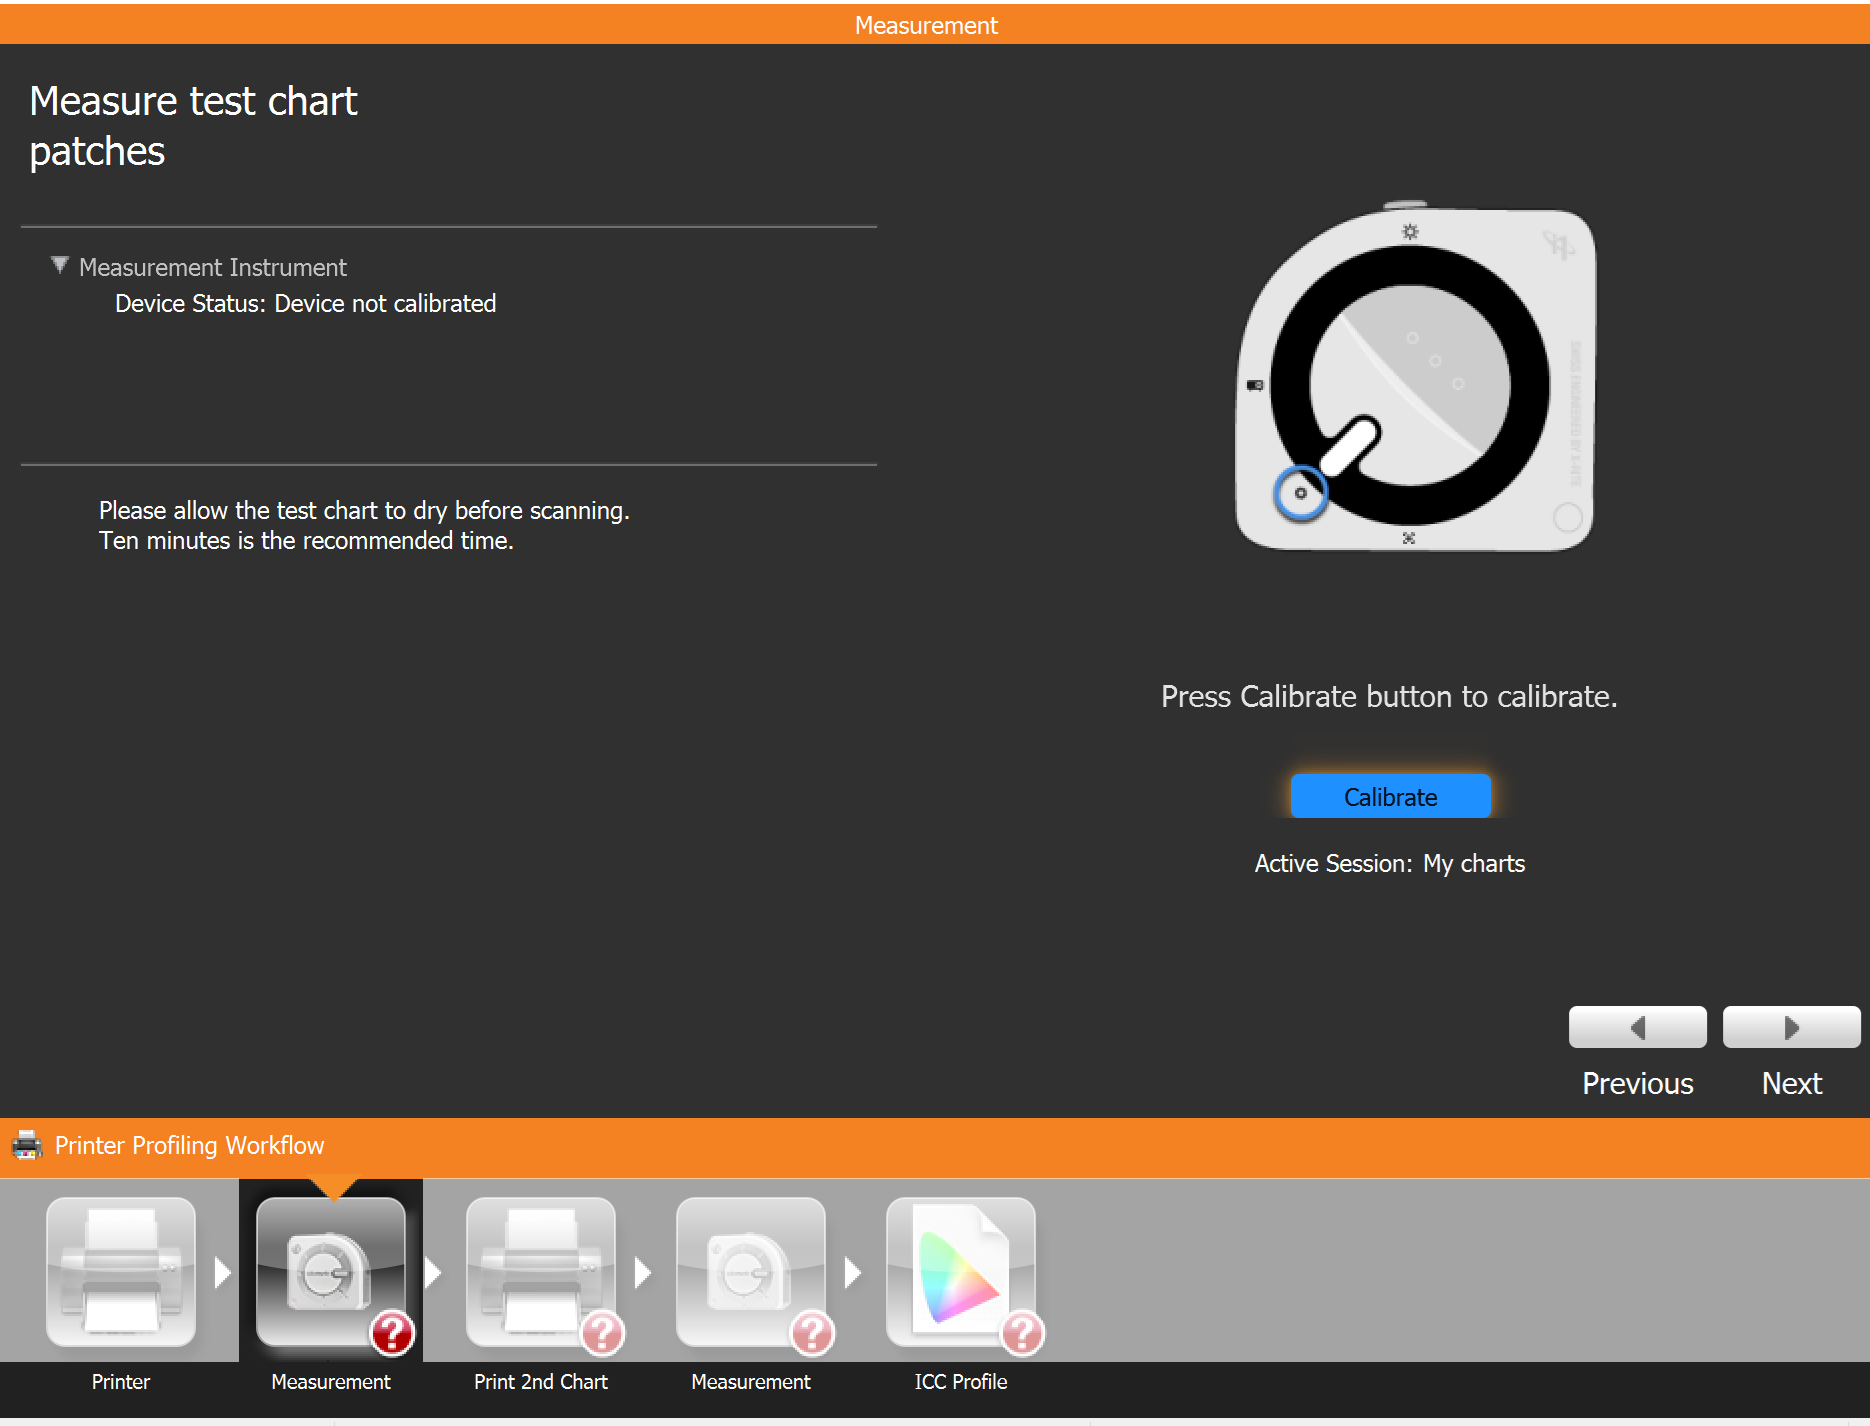
Now you can read these charts in I1Studio, click Next in i1Studio.
Now follow the instruction to calibrate you device and read the two prints with your i1Studio device.
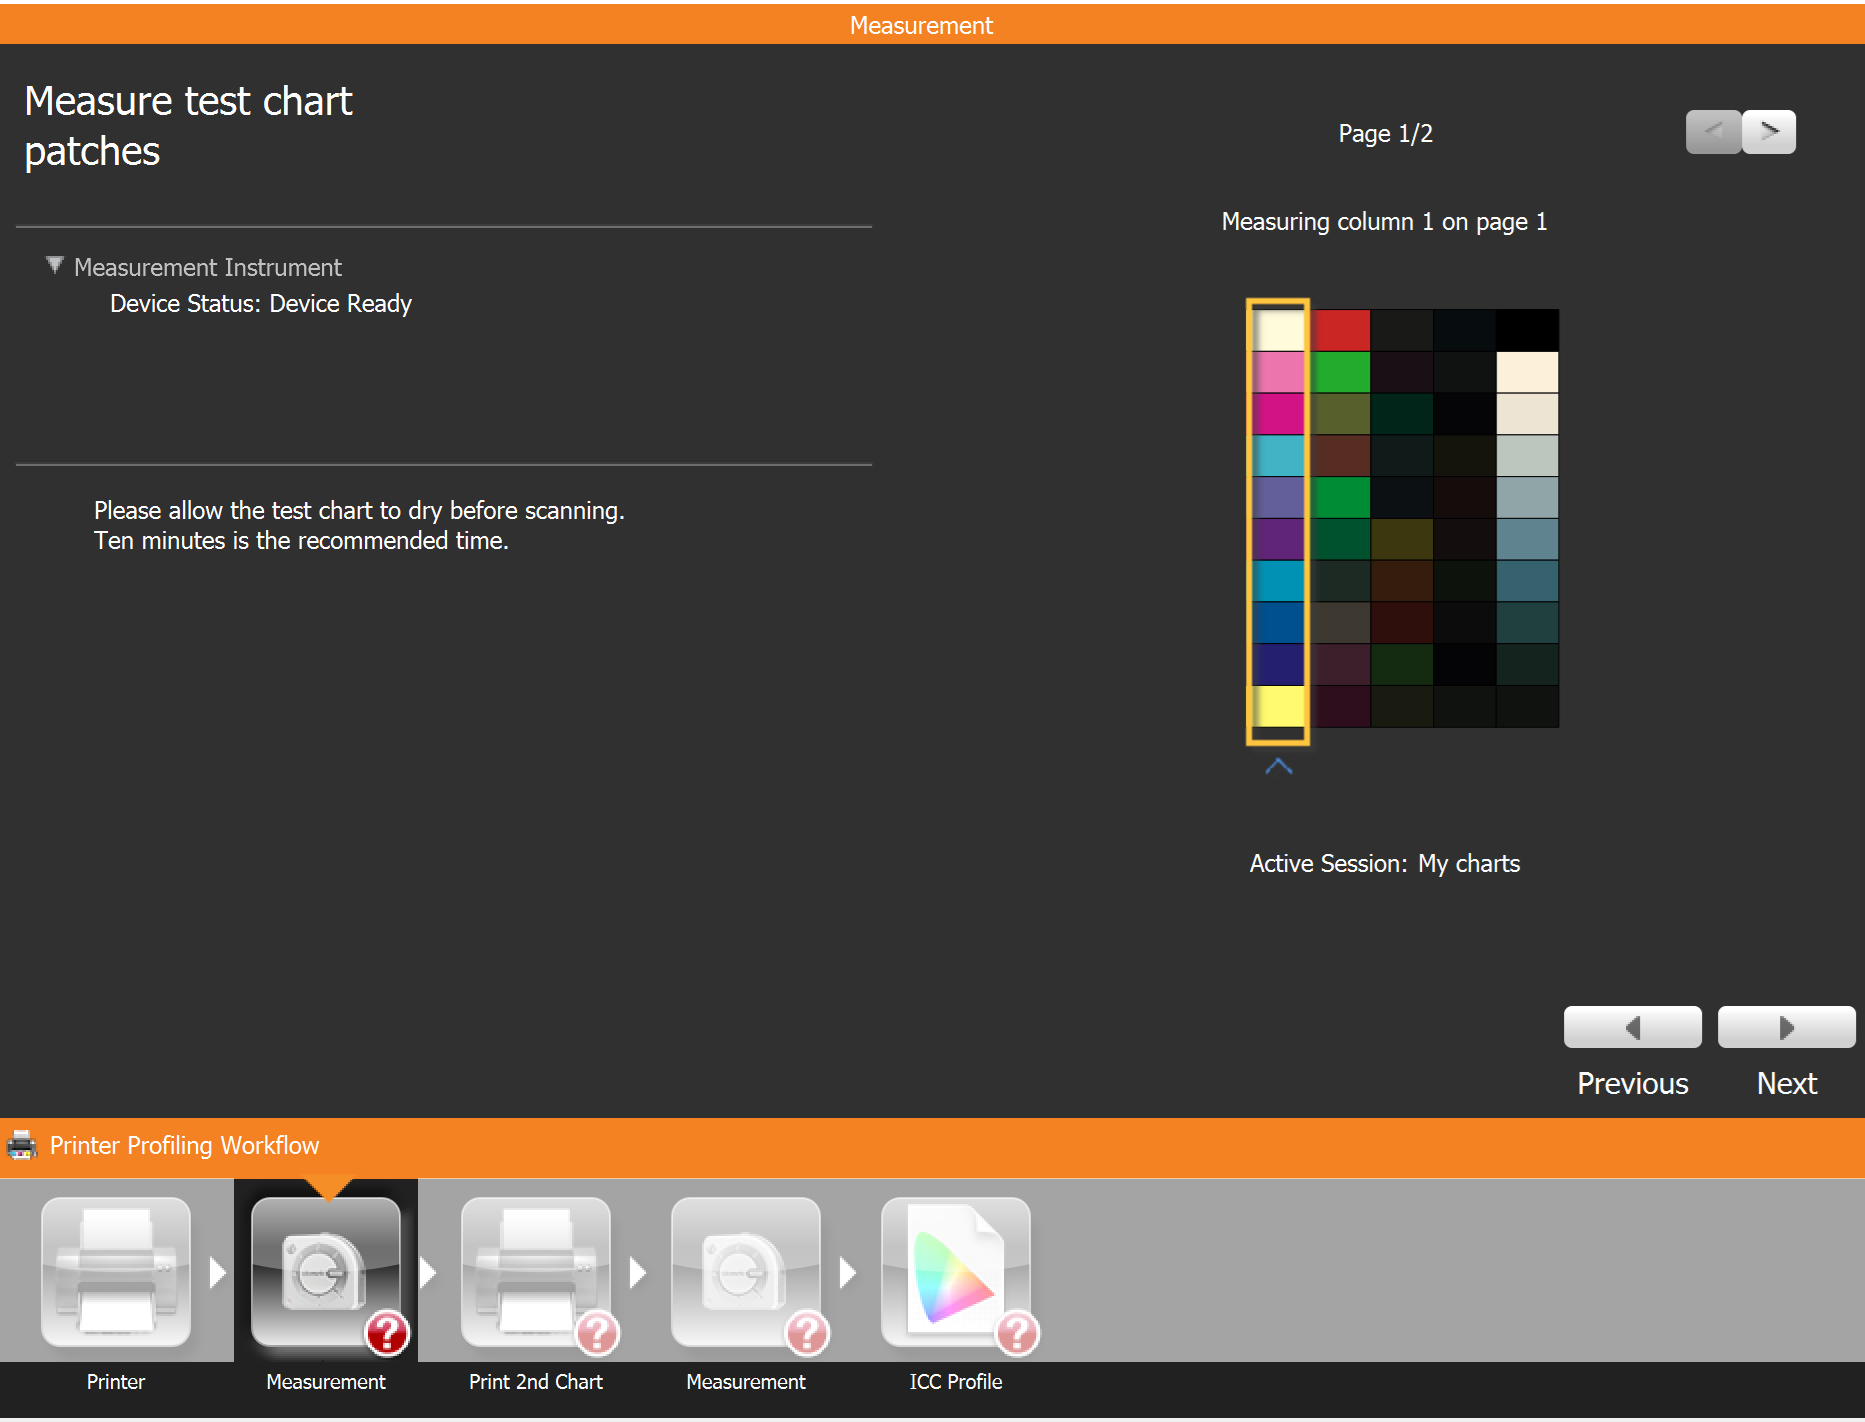
You wil need to scan both charts.
The I1Studio ICC printer profiling is a two step process, so once you have finished reading the first two charts and click Next, you have to repeat the process. After clicking Next, you will see a message saying second test chart generation in progress and will have to wait for this to complete.
Once completed, click Save Session to save the new charts.
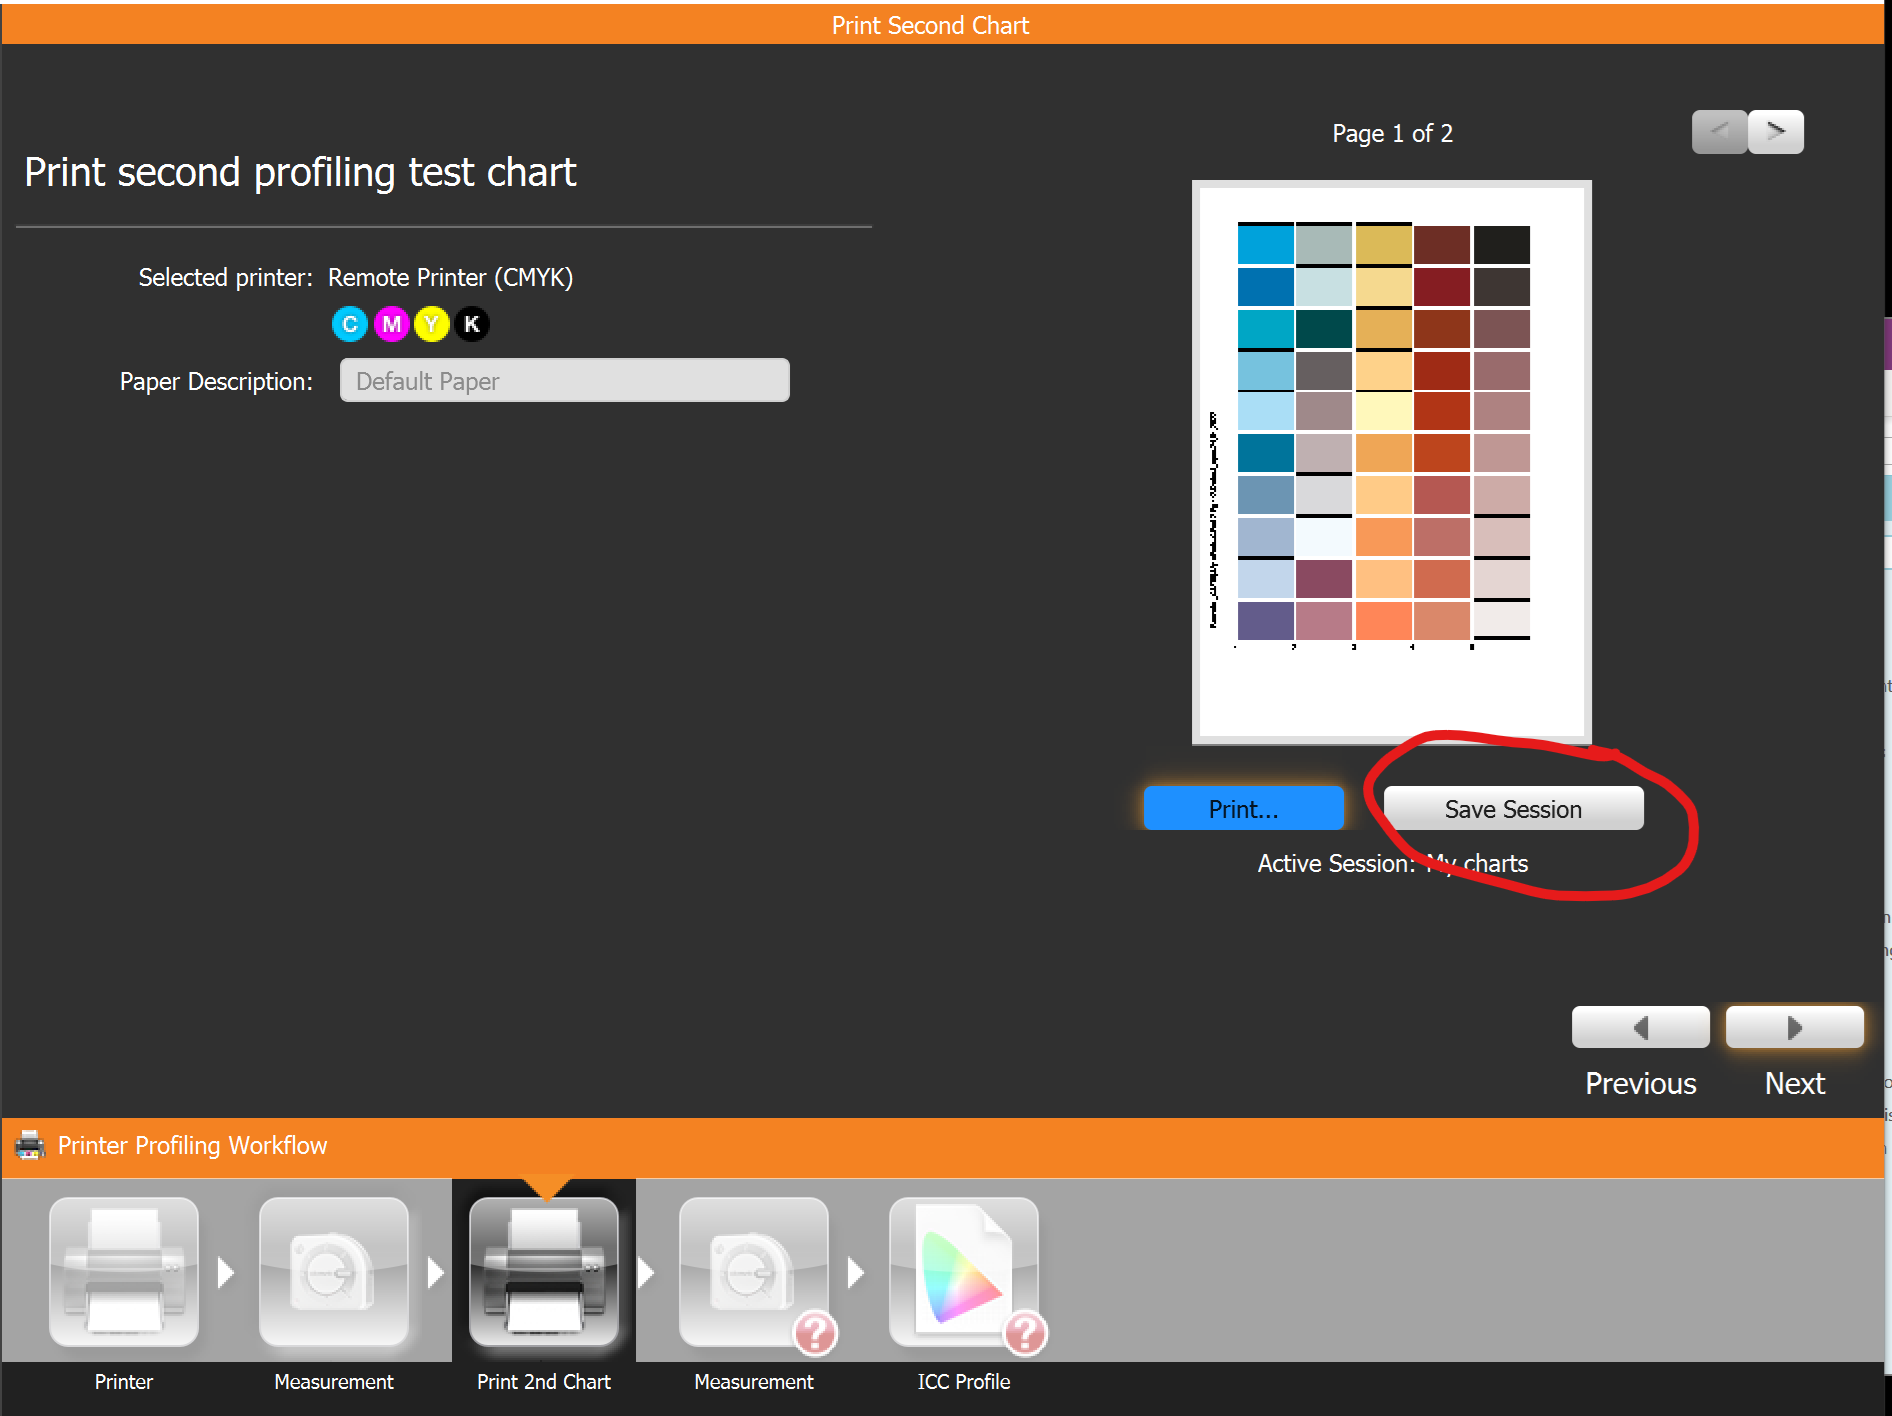
You will then have two new charts in the i1Studio Tiffs folder, 2_1_2.tif and 2_2_2.tif
Print these two charts as above and continue to read these charts as before.
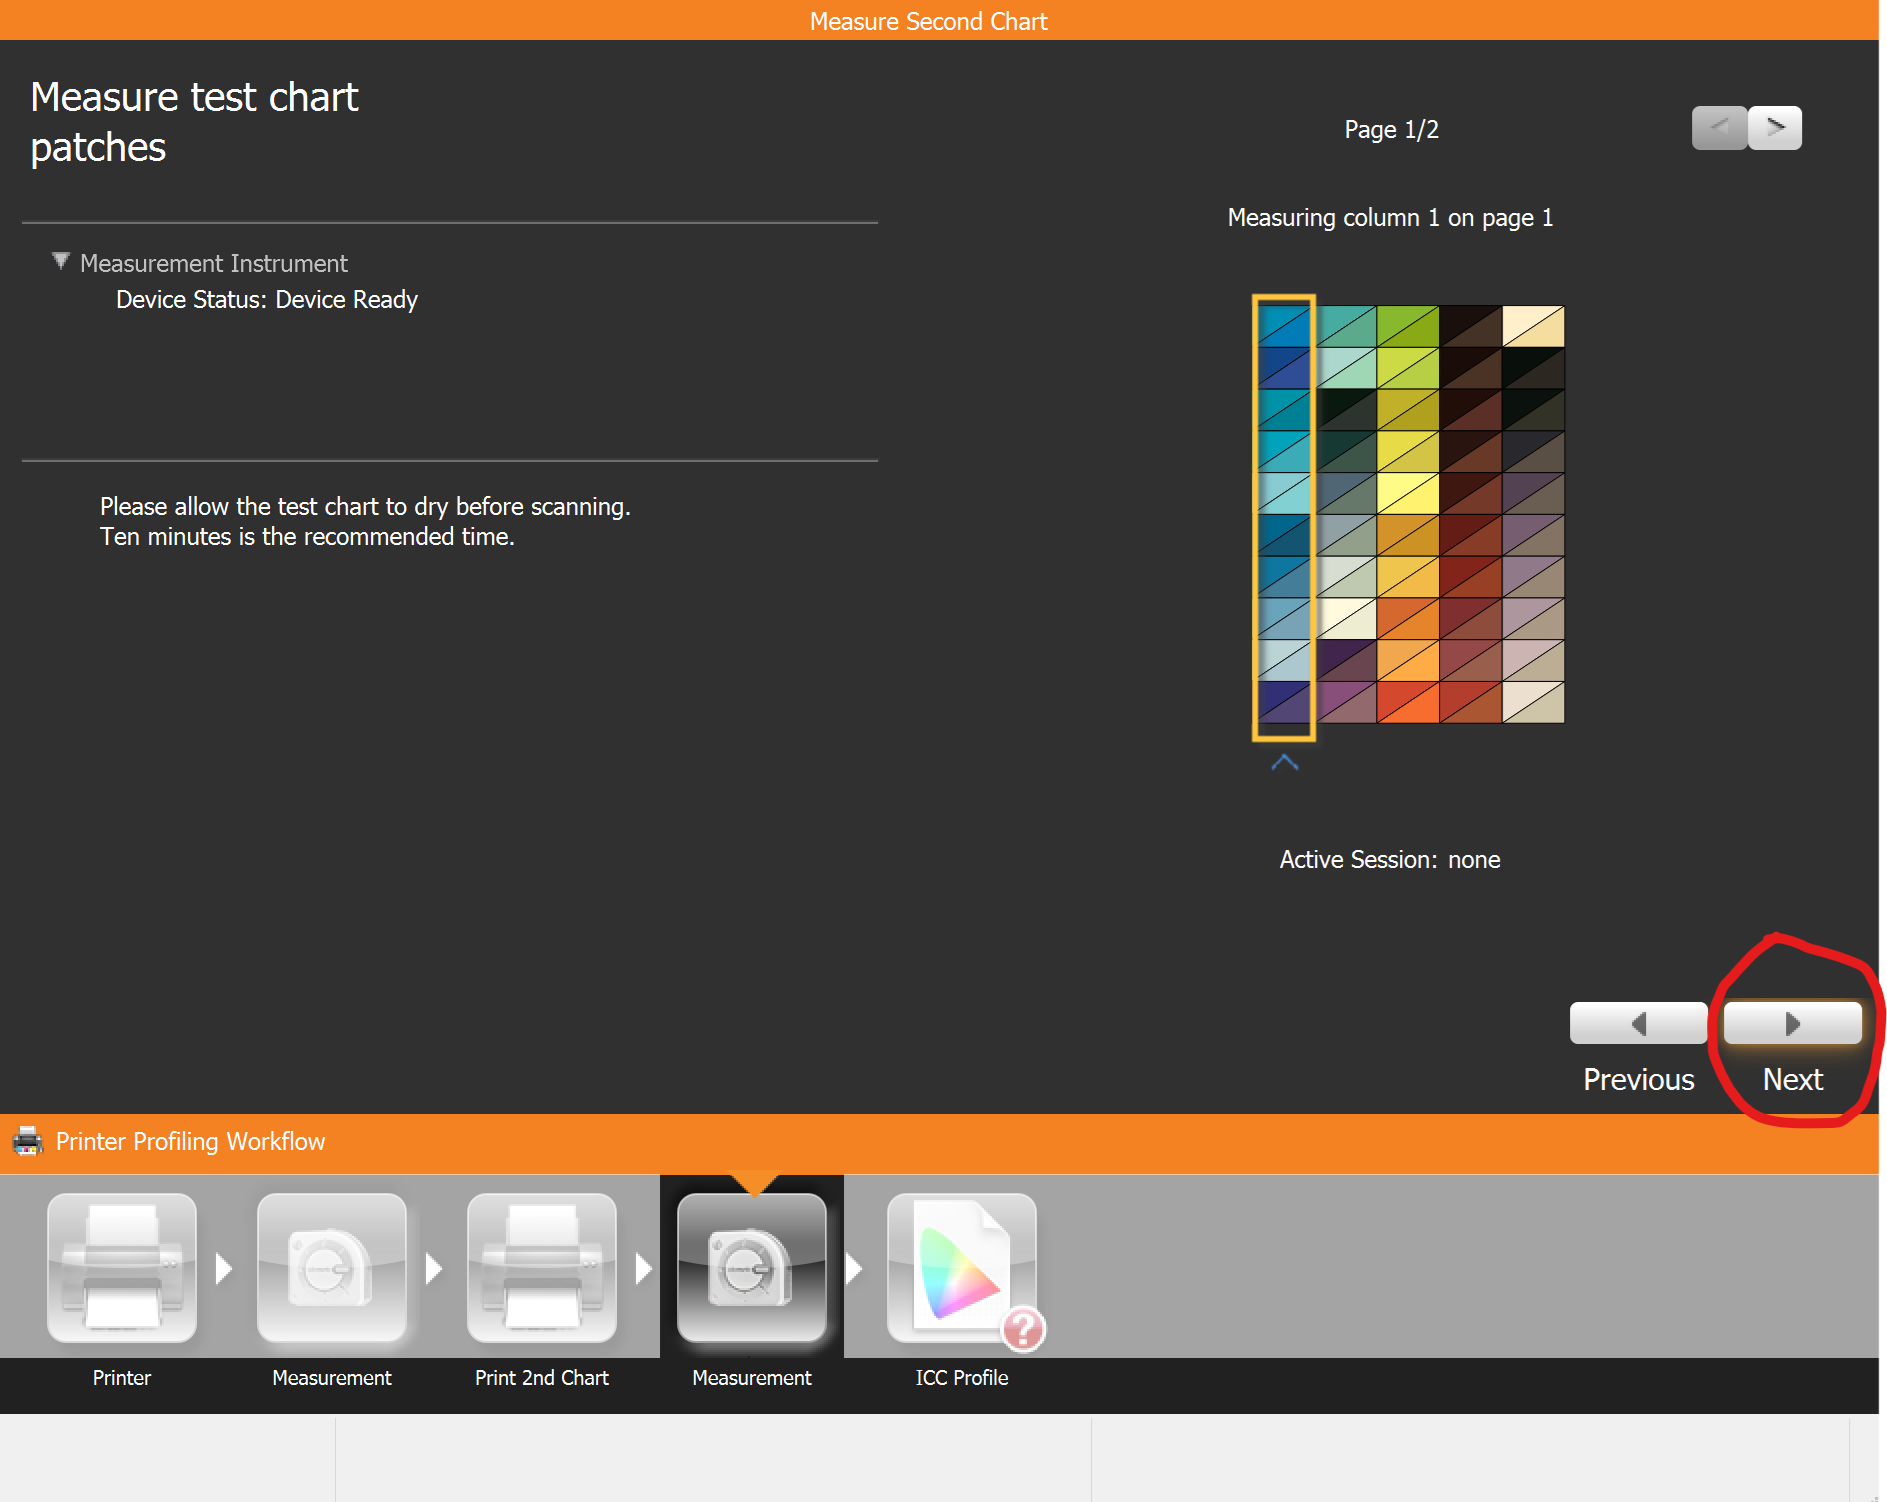
Once you have measured the 2nd two charts, click Next.
You can now create the ICC profile. Give it an appropriate name and select ICC version 2 or version 4 (both will work).
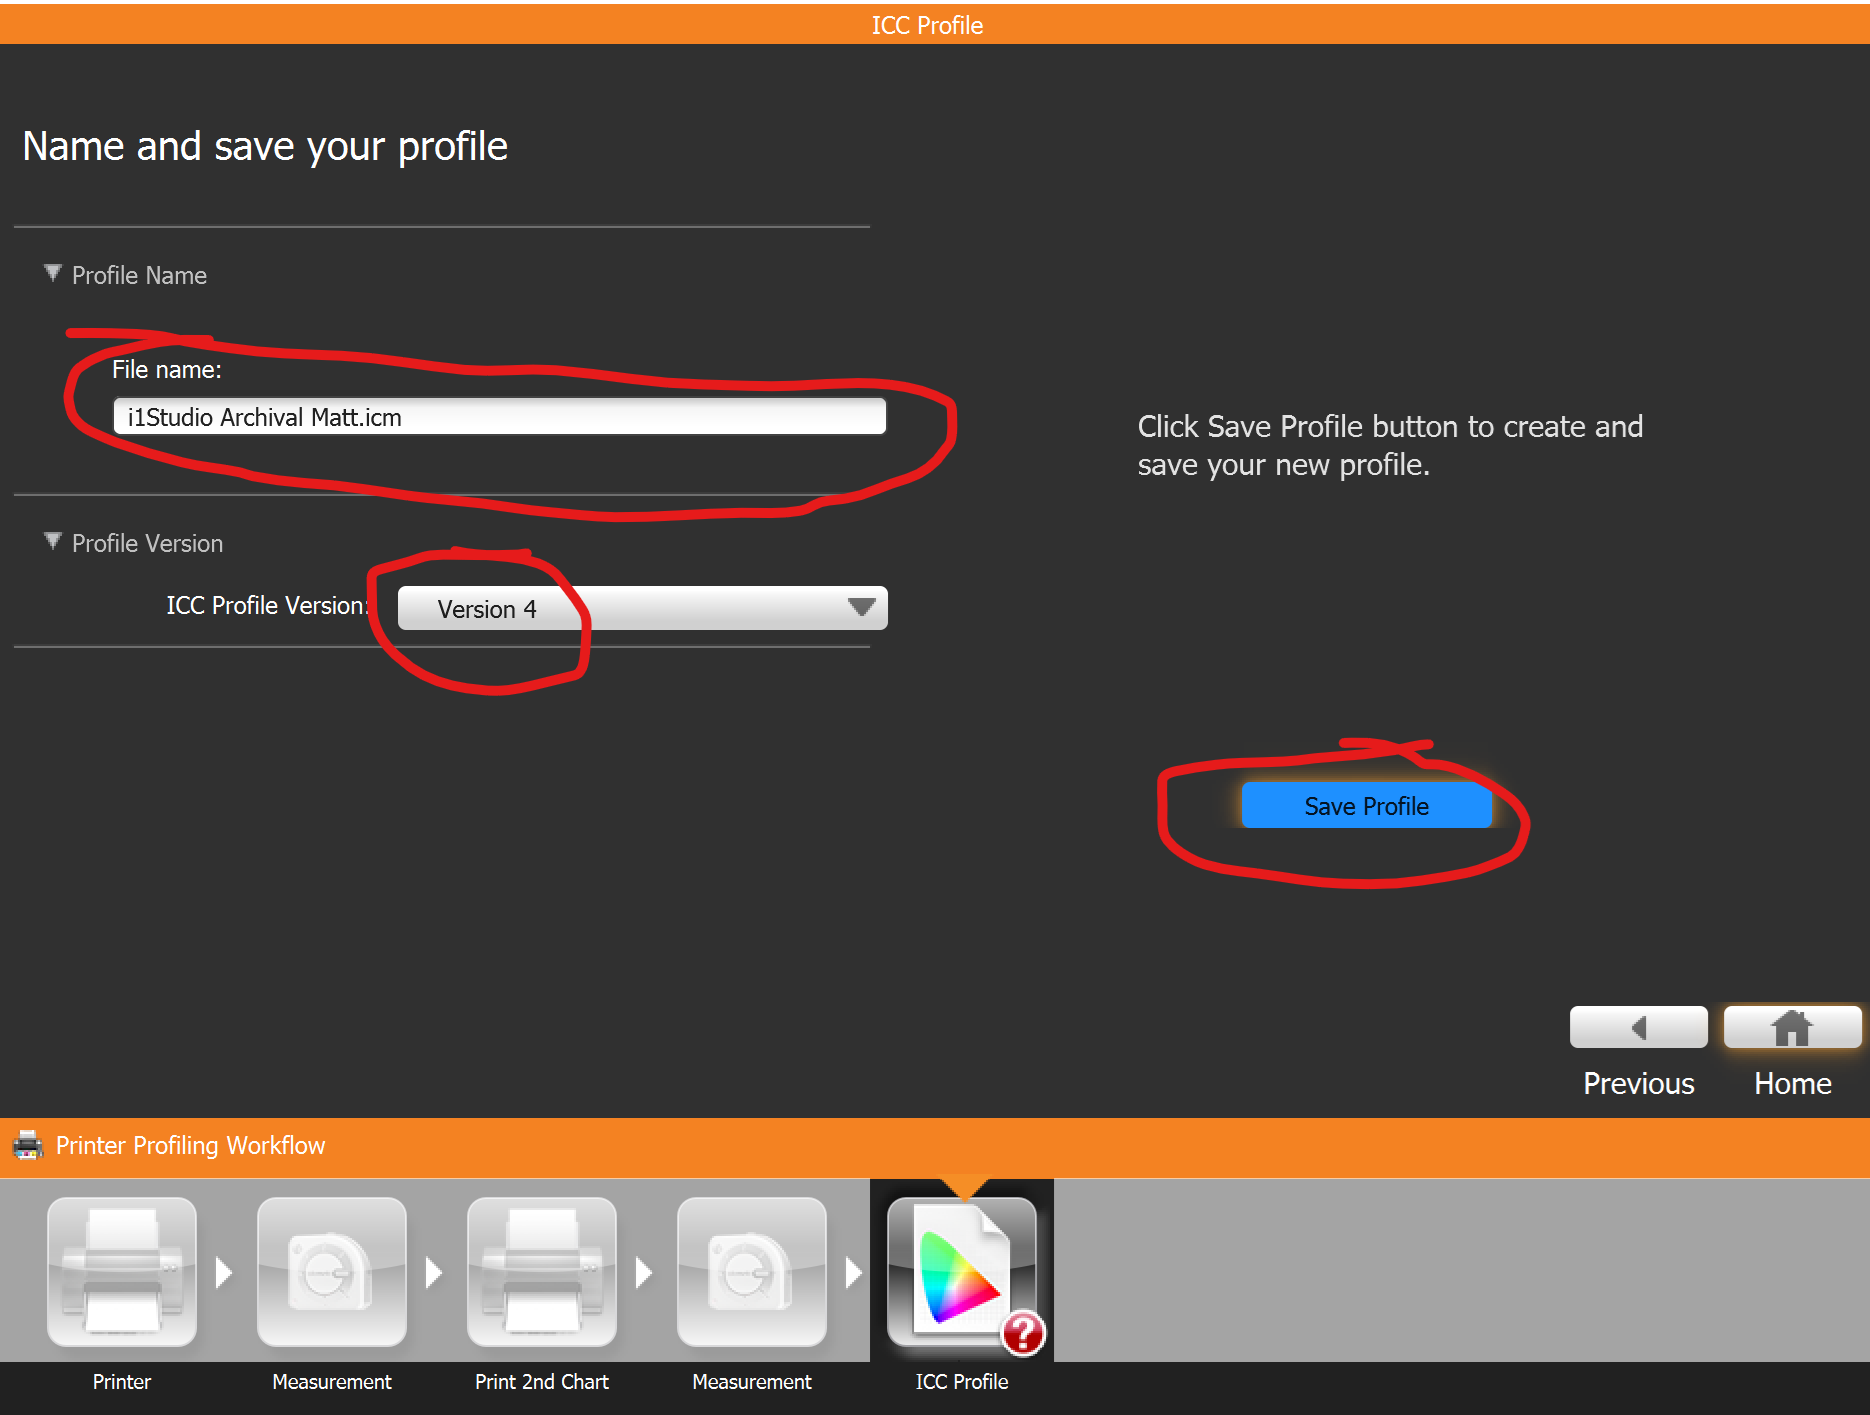
Click Save Profile to create the new ICC profile.
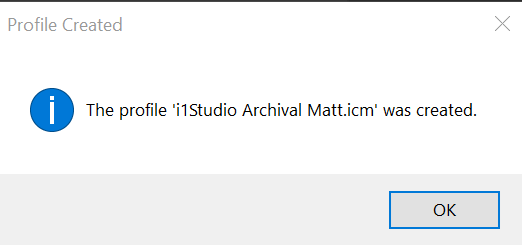
You will get a confirmation message once finished.
Your new ICC profile is stored in the Windows ICC folder which is located in:
C:\Windows\System32\spool\drivers\color
We recommend copying this into the Digital Factory install directory:
\RIP\System\Clinks\shortname\
This will ensure your profile can be moved between systems without issues.
Fiery family of software products
Making your machines run better
Copyright © 2026, Fiery LLC. Tous droits réservés. Politique de confidentialité.