Multi-Lane Support
Roll-fed devices are designed to support multiple print lanes for simultaneous print output. Multi-lane is an optional setting for the roll media type, allowing users to modify the number of lanes and spacing between them.
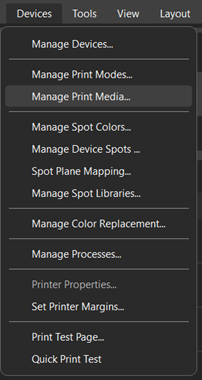
To create a multi-lane roll, begin by adding a new media type. Navigate to Devices > Print Media Manager. Click the Add New Print Media button to create a new media.

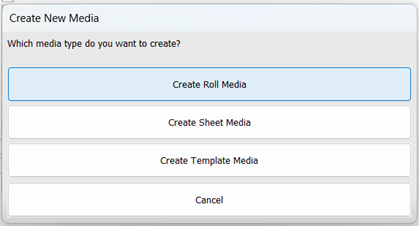
When the Create New Media window opens, click Create Roll Media. Multi-lane is exclusive to roll media and will not be an available option in any other media type.
Begin creating your media by entering the standard media settings for any roll: the name, size, and margins. The size should be the total width of the device media area – not the width of any individual lane.
Once the name, size, and margins have been set, toggle on multi-lane using the checkbox. The additional multi-lane settings will populate into the window.
Begin by specifying the total number of desired lanes. Digital Factory currently supports up to 4 lanes at maximum. When the number of lanes is specified, you will notice the Lane Start values automatically update to evenly space each lane. By default, multi-lane setup will automatically space each lane equally. The lane starting points can be adjusted if needed.
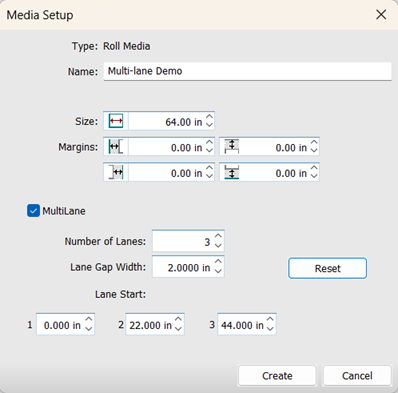
Gaps between lanes can also be added to accommodate any spacing requirements. Adding a gap will create an unprintable area between the lanes, preventing anything from being output off media. Use the Reset button to recalculate the lane start points accommodating for the new lane gap value.
Click Create to finalize the creation of the multi-lane media. The media will appear in the list of available media options for your chosen device. To change your media, you can use either of the following steps:
-
Right click the queue header.
-
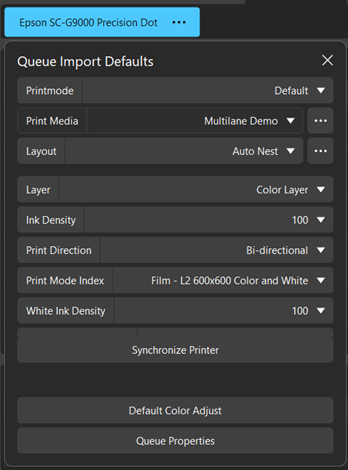
Expand the Print Media Dropdown.
-
Select your newly created multi-lane media.
Alternatively, you can do the following:
-
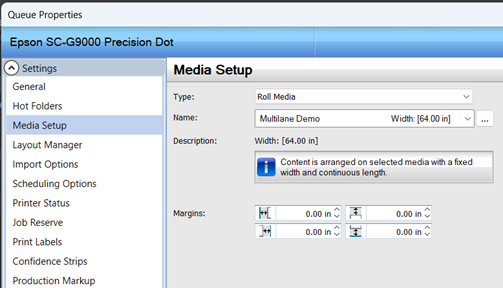
Navigate to Queue > Properties.
-
Select Media Setup under the Settings category.
-
Select your newly created multi-lane media from the Name dropdown menu.
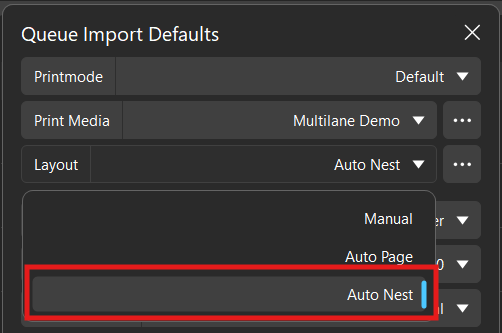
Once your multi-lane media is set as active for your queue, it is important to ensure the layout mode is set to Auto-Nest. This option ensures imported jobs are nested across all lanes properly to maximize space efficiency of the media lanes.
An additional use of multi-lane media is dividing a single roll into multiple lane workspaces. Note how lanes by default do not require any gap. This can be used to segment a lane into 2-4 sections. This can be used as an additional method of organization, such as for separating different customer orders for simultaneous output.
Fiery family of software products
Making your machines run better
Copyright © 2026, Fiery LLC. Tutti i diritti riservati. Informativa sulla protezione dei dati personali.