Note: These materials are offered only in English as supplementary examples for a deeper dive into
Custom Sign Blanks
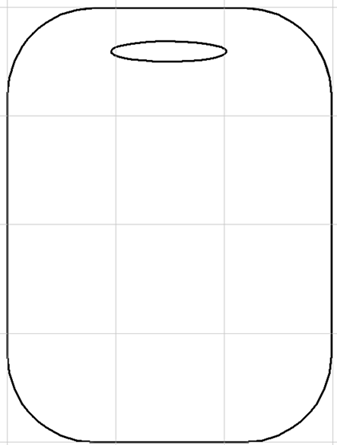
This example helps you create a custom sign blank from an object you’ve designed in the workspace. You can create any design for a blank you desire, just keep these tips in mind:
- Keep the outline simple so you can make changes on the fly.
- Ensure the path is closed so you can change the color.
- Always name objects so you can find them easily.
- Always save sign blank objects in your
- You can create as many CDL files as you want to use as custom sign blank objects.
- To reset the sign blank to default, go to Layout > Reset Sign Blank.
Creating Custom Sign Blanks
- In a new workspace, create a shape.
- Apply effects, such as rounded corners, tabs, spots for posts, or any other spots that will be covered or punched out of the final design.
- If you have multiple pieces in your design, weld them together, ensuring no parts are lost.
- When you’re done with the design, select all (Ctrl+A) and go to Arrange > Name Object and give the object a name.
- Go to Layout > Set Sign Blank From Object.
- The sign blank changes to your design.
- Go to File > Save As, navigate to your
- Save the sign blank to this folder so it’s available in the future.
Using Your Custom Sign Blank
To access the sign blank and use it, go to Layout > Blank Size, then in the Blank Size dialog, click Advanced. Select Use Sign Blank Object and use the drop-down list to select your saved sign blank.
The rulers are based on the bounding box of the sign blank. To change the position of the origin (0,0), hold down Ctrl, right-click to select Set Grid Origin (highlighted orange), then set the point by clicking anywhere, such as the bottom left corner.
Fiery family of software products
Making your machines run better
Copyright © 2026, Fiery LLC. All rights reserved. Privacy Policy.