Stroke and Fill Tools
The stroke and fill tools adjust styles and fills of objects.
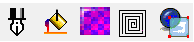
From left to right:
Line style: Select to apply a thin or thick line effect to a selected object.

From left to right:
- No line
- Hairline
- Thick line
- Line thickness
- Dotted line (gap and stroke)
- Lock proportions (aspect ratio)
- Line in front
- Line behind
- End caps (butt, extended, rounded)
- Corners (sharp, round, miter)
- Stroke colors
- Gradient stroke drop-down list: Select one color, linear (linear gradient that extends outwards from the center line), step (pinstripe effect with a sharp transition between colors), or bevel (halo effect with one dominant color and the other along the edges of the stroke).
- Set as default line setting
Gradient fills: Select to apply a gradient fill to a selected object (RGB colors).

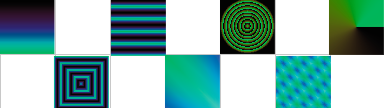
From top left:
- Linear fill
- Radial fill
- Conical fill
- Uniform fill
- Square fill
- Triangle fill
-
Clear nubs (to remove control nubs previously added using the gradient slider)
Note: This button is visible after adding nubs. - Gradient slider: Use the slider to control the gradient.
Note: If you want to add new nubs that can be used to add new color, double-click on the gradient slider. - Color selection: Use the drop-down to launch the Color Selection dialog and edit colors.
- Position of fill (controls position where effect begins)
- Pinstripe
- Spectrum up: Gradient has first color on bottom and transitions to second color at top.
- Blend
- Spectrum down: Gradient has first color on top and transitions to second color on bottom.
- Angle of fill
- Repeats (use the drop-down to select style and the arrows to set number of repeats)
Pattern fills: Select to apply a process color fill by tiling a bitmap.

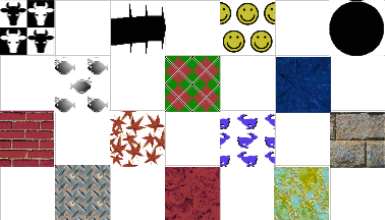
From left to right:
- Select pattern bitmap
- Cell width and height
- Lock proportions
- Cell x and y offset
- Skew fill
- Rotate fill
- Percent of tile x and y direction
- Enable partial fill
- Enable transparent color
- Color picker
Hatch fill: Select to apply a crosshatch or solid fill to a selected object.

From left to right:
- Tool width
- Fill angle
- Fill style
- Fill color
- Fill offset
Transparency fill: Select to apply effects that are transparent with objects below showing through.


From top left, clockwise:
- No transparency
- Uniform fill
- Linear fill
- Conical fill
- Contour fill
- Pattern fill
- Radial fill
- Square fill
- *configuration is dependent on option chosen

Fiery family of software products
Making your machines run better
Copyright © 2026, Fiery LLC. All rights reserved. Privacy Policy.