Network Licensing Server Setup
When setting up a network server, you must first install the network license and then install all client licenses.
- Setting up the Server License and Install
- Setting up the Client Licenses and Installs
- Updating the Server License in Case of Additions
Setting up the Server License and Install
A special network server license file must be created based on the CADlink dongle number.
- Locate the network dongle and delete any files on it.
- Copy the file ProductL.lcf to the root folder of the network dongle. Once completed, launch the file called CADlinkLicenseServer.exe (click to download).
- At launch, you will be prompted to plug the network license dongle into a USB port on the required computer. When ready, click Next.
The install wizard appears.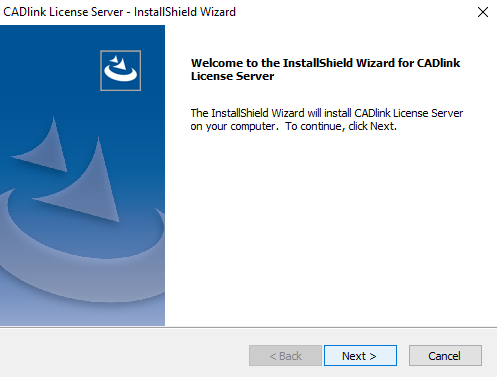
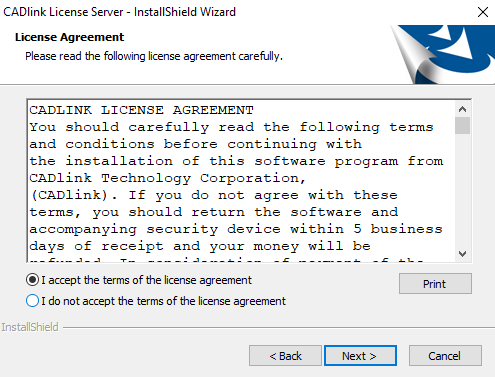
- Accept the license agreement, then click Next.
- The installation process begins.
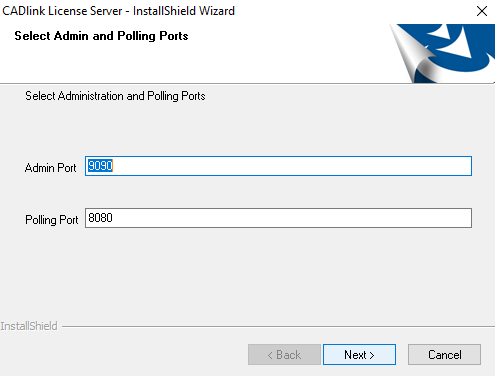
- Accept the default Admin and Polling Port, then click Next.
- The Finished window displays with information about server log location.
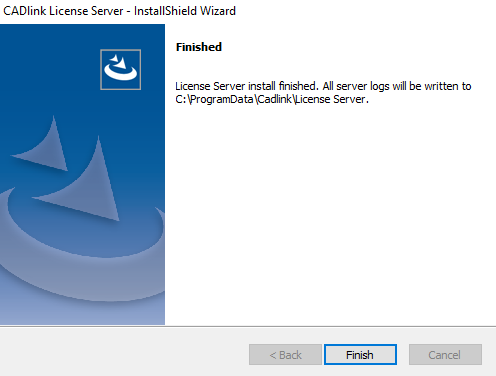
- Cliquez sur Terminer.
A web page appears with information about the registered user, dongle number, product, and maximum number of seats connected and allowed.
http://localhost:9090/activity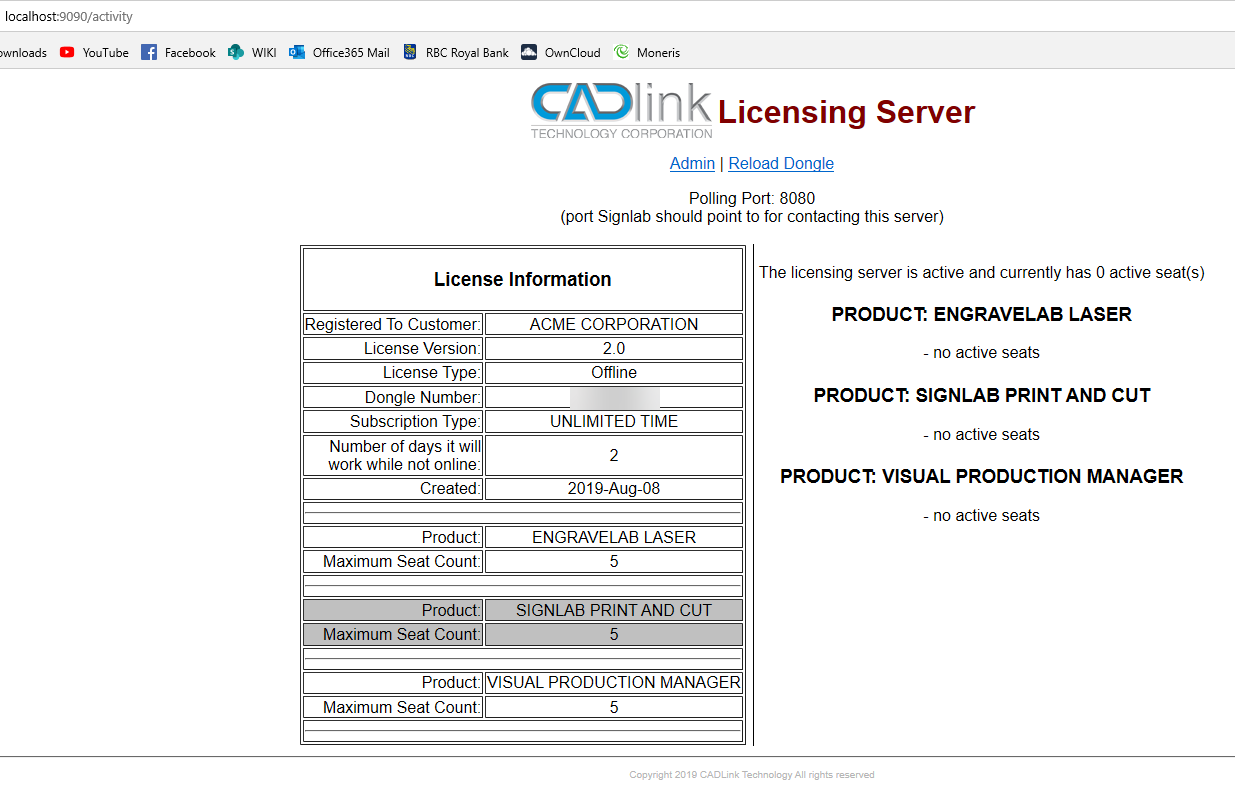
Setting up the Client Licenses and Installs
- Send the license files to each machine that should be part of this network.
Note: Client licenses do not require a dongle, only the license files from the server license administrator. - Perform the program install using the following link to download the correct program: https://www.cadlink.com/downloads/.
- Enter the server URL (http://server machine name or IP address) and port.
Note: If you are doing a local install, use localhost.
In this example, "davem-m720" is the server machine name. The port will always be 8080.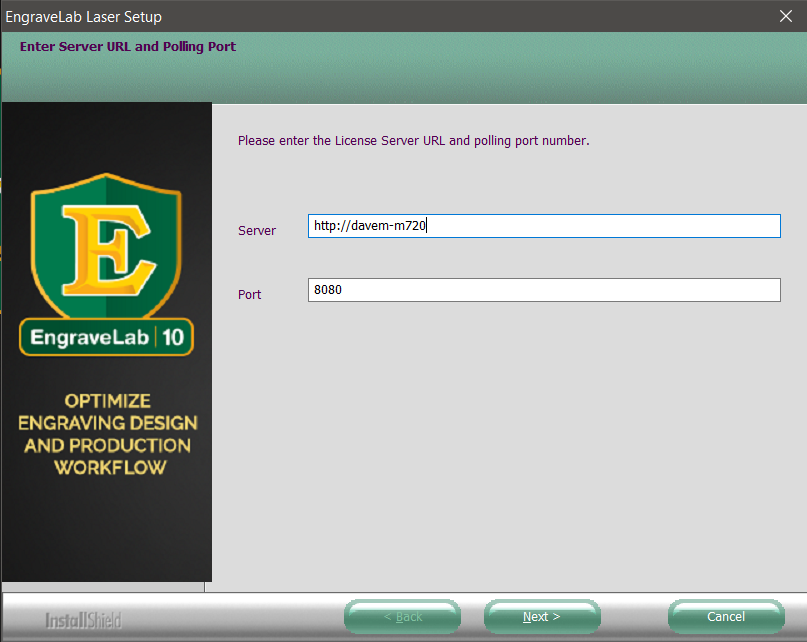
Updating the Server License in Case of Additions
- Use Task Manager to locate CADlinkLicensingServer.exe and End Task.
- Locate the email with the updated ProductL.lcf and save it locally.
- Replace the existing ProductL.lcf with the new one.
Usually located in either of the following locations:
C:\Program Files (x86)\CADlink\License Server
C:\ProgramData\CADlink\License Server - Start CADlinkLicensingServer.exe.
- Using a web browser, go to: http://localhost:9090/activity.
- Review the license information page. This will show the updated licenses available on the network.
Fiery family of software products
Making your machines run better
Copyright © 2026, Fiery LLC. Tous droits réservés. Politique de confidentialité.