Image Menu
The following items are located under the Image menu.
Image Size: Opens image size controls to re-size by pixel or resolution. Select to maintain the aspect ratio, and whether you want normal, re-sample, or bicubic.

Super Size Image: Increase the print size and resolution of an image.
- Scale the image to print dimensions in the workspace.
- Open the Super Size controls and set the image resolution.
Prepare to Vectorize Wizard: Opens the wizard to vectorize an image (see Prepare to Vectorize Wizard). Follow the steps in the wizard.
Mode: Select an image color mode from the following:
- CMYK
- RGB
- Grayscale
- Indexed Color
- Monochrome
- Plugin Paths: Set directory path to plugins.
- Set Foreground Color: Choose a color for the foreground, if not set with plugin.
- Set Background Color: Choose a color for the background, if not set with plugin.
Recent: Displays recently used filters.
Fluid Mask: Edit the selected job with Fluid Mask. Run Fluid Mask to clean up the background of image (Fluid Mask includes Help in the plug-in). The basic functions are to use the Keep brush (green), the Blend brush (yellow), and the Delete brush (red) to make selections, then go to File > Save and Apply.
Easy Color Adjustments: Select a color adjustment to apply from the list below:
- Cleanup Black
- Cleanup White
- Make Lighter
- Make Darker
- Increase Saturation
- Blur Image
- Sharpen Image
Color Adjustments: Select a color adjustment to apply from the list below and adjust the settings or sliders:
- Levels
- Contrast/Brightness
- Hue/Saturation

- Curves
- Invert
- Posterize
- Histogram Contrast
- Stretch Intensity
- Histogram Equalize
- Balance Colors

- Swap Colors
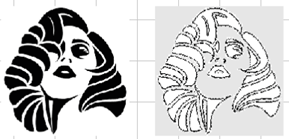
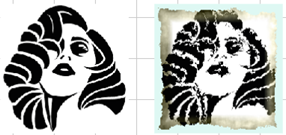
Filters: Select a filter to apply from the list below and adjust the settings or sliders:
- Sharpen
- Sharpen
- Unsharp Mask
- Blur
- Average Filter
- Gaussian Blur
- Motion Blur

- Median Filter
- Noise
- Add Noise
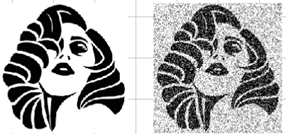
- Despeckle
- Add Noise
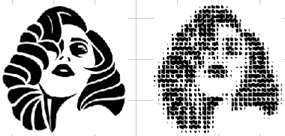
- Stylize / Artistic
- Emboss
- Solarize
- Oilify

- Mosaic
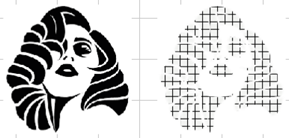
- Spatial Filter
- Halftone
- Intensity Detect
- Remove Red Eye
Alpha Channel: An alpha channel is a mask layer used to control image transparency, seen as a grayscale image.
- Split: Replaces the alpha bitmap with two layers (a 24-bit image without transparency, and an 8-bit grayscale with transparency data).
- Combine: Create a 32-bit alpha bitmap by combining a 24-bit image and an 8-bit grayscale image.
- Create Blank Alpha: Create a 32-bit alpha bitmap with a blank 8-bit grayscale image.
- Mask White: Create a 32-bit alpha bitmap with an opaque white 8-bit grayscale image (useful for creating an underbase).
- Make More Visible: Adjust the transparency of an alpha bitmap to be more opaque.
- Make Less Visible: Adjust the transparency of an alpha bitmap to be more transparent.
- Create Prime: Define a white underbase with the grayscale once your alpha channel data is set up.
Edit with Gimp: Launch Gimp to edit image.
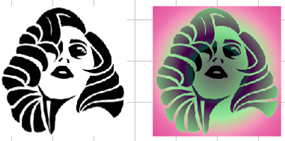
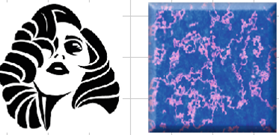
Create Texture: Opens the Texture dialog to set filters (see Create Texture).
Production Plug-ins: Select a filter to apply from the list below and adjust the settings or sliders:
Note: These plug-ins do not work on PDFs.
- KnockMeBlackOut (when printing garments, use this filter to remove unnecessary black ink on a black garment)
- KnockMeColorOut (when printing garments, use this filter to remove unnecessary colored ink on a colored garment)
-
 KnockMeOut Tools
- Transparency Opacity
-
Transparency Opacity Tool
- Posterize
The Plugin Site: Harry's Filters 4.0: Select to use plug-in.
Fiery Effects: Select a filter to apply from the list below and adjust the settings or sliders:
- Fiery BevelCreating Bevels
- Box Blur
- Light Effects

- Sphere Effects
- DisplacementDisplacement Effect
- Distressed Frames
- Distressed
 Clip Art Viewer and Distressed Effect, Distressed Effects Continued
 - Easy Color Adjustments
- Gaussian Blur
- Marble Effect
- Motion Blur
- Outer Glow
- Pixelate
- Radiance
- Shadow
- Sharpen
- Silver
- Sketch

- Wood Effect
Mehdi 2: Noise Shampoo 3.1: Select to use plug-in.
Fiery family of software products
Making your machines run better
Copyright © 2025, Fiery LLC. All rights reserved. Privacy Policy.