VPM Interface
Os seguintes elementos compõem a área de trabalho.
Controles da Barra de ferramentas

Da esquerda para a direita:
- Abrir: abra a caixa de diálogo Pesquisar e selecione uma imagem.. O trabalho é adicionado à fila atual.
- Remover trabalho: exclui permanentemente o(s) trabalho(s) selecionado(s) da fila.
- Liberar trabalho: libera um trabalho em espera para impressão.
- Reter trabalho: interrompe o trabalho e o coloca em espera.
- Spool do trabalho: faz o spool dos dados da impressão sem enviá-los à impressora. Clique com o botão direito do mouse para obter opções para visualizar dados brutos.
- Trabalho de impressão
- Trabalho de impressão e corte
 Cutting a Job with Registration Marks
 - Trabalho de corte
- Save As: Save the selected job as a job backup file.
- Centralizar na página: centraliza o trabalho horizontal e verticalmente no material.
- Centralizar horizontalmente na página: centraliza o trabalho horizontalmente no material.
- Centralizar no topo da página: centralize o trabalho horizontalmente e no topo da página.
- Ajustar à largura da página: dimensiona o trabalho para corresponder à largura da página.
- Ajustar à altura da página: dimensiona o trabalho para corresponder à altura da página.
- Ajustar à página: dimensiona o trabalho de acordo com o tamanho da página, sem exceder os limites.
- Limpar erros: caso ocorram erros, clique para limpar o(s) erro(s).
- Anular trabalhos: interrompe o processamento do(s) trabalho(s).
Funciona em dispositivos TCP/IP e USB. - Iniciar/parar fila: para a fila selecionada, processe os trabalhos conforme eles são recebidos ou interrompa os trabalhos independentemente das configurações de agendamento. Status exibido no canto superior esquerdo da fila.
- Iniciar/parar spooler de corte: para a fila selecionada, processe os trabalhos conforme eles são recebidos ou interrompa os trabalhos independentemente das configurações de agendamento.
- Configurar fila: para a fila selecionada, abre a caixa de diálogo Propriedades da fila.
- Status e configurações da impressora: consulta a impressora.
- Printer Readme: Opens the driver's Readme file if available. The button will highlight in red in the event a Readme file is included but has not yet been opened.
- Custos: abre a guia Custos na caixa de diálogo Propriedades da fila.
- Localizar trabalho: insira o nome de um trabalho ou um código de barras para localizar o trabalho na fila (consulte Compatibilidade dos código de barras,Localizar trabalhos).
- Substituição das cores do trabalho: substitua uma cor específica ou um intervalo de cores (consulte Substituição das cores do trabalho).
-
Create Gang Sheet: Opens the Create Gang Sheet dialogue window (see Gang Sheets).
- Marcação de Produção: abre a guia Marcação de Produção de Propriedades da Fila.
- Calibrar Câmera: clique para imprimir uma impressão de calibração e para calibrar uma câmera para alinhamento (consulte Visual Print Positioning).
- Compass: clique para abrir a ajuda sensível ao contexto.
Filas
Uma fila é um repositório que gerencia trabalhos antes de processá-los. Cada fila se baseia em um dispositivo, modo de impressão e/ou mídia.
Observação: o número máximo de trabalhos que uma fila pode manter é de 2000.

On the top left side of the  ).
).
Para mais informações sobre a configuração de propriedades para uma fila selecionada, consulte Propriedades da Fila.
Active Job List
Under the queue tabs, the jobs are shown in a list, with reserved and completed jobs moving out to the Job Reserve List once completed.
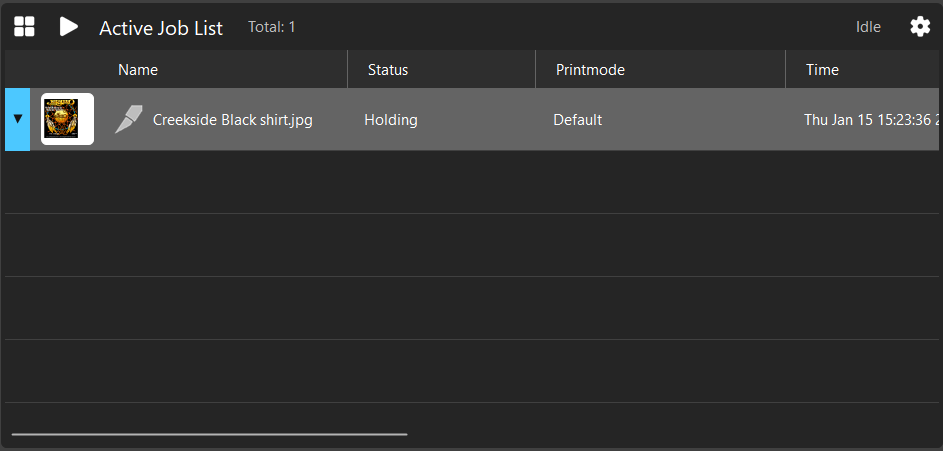
From left to right, the active job menu contains the following controls or information displays:
-
Pane Control button.
-
Run/Pause Queue toggle.
-
Total number of jobs in the active queue.
-
Queue status.
-
Active Job List settings: Open to adjust preview size or to sync headers to match the Job Reserve List.
Job Reserve List
Once jobs are processed, they are moved from the Active Job List to the Job Reserve List.
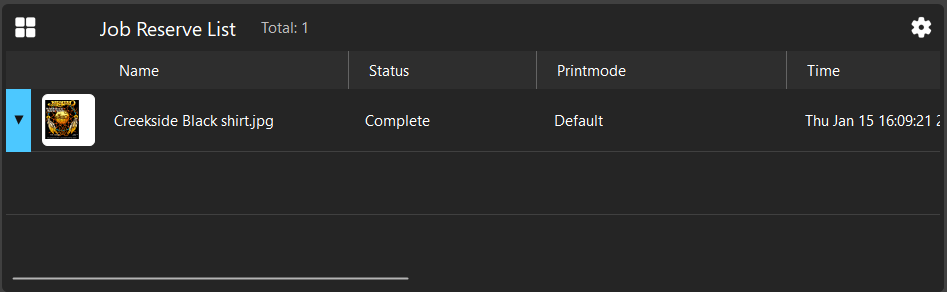
Jobs can be dragged from the Job Reserve List back into the Active Job List should the job need to be redone or extra copies made. This pane also contains:
-
Pane Control Button.
-
Total number of jobs in the reserve list
-
Job Reserve List settings: Open to adjust job preview size or to sync headers to match the Active Job List.
Gerenciador de Visualização
On the top right side of the
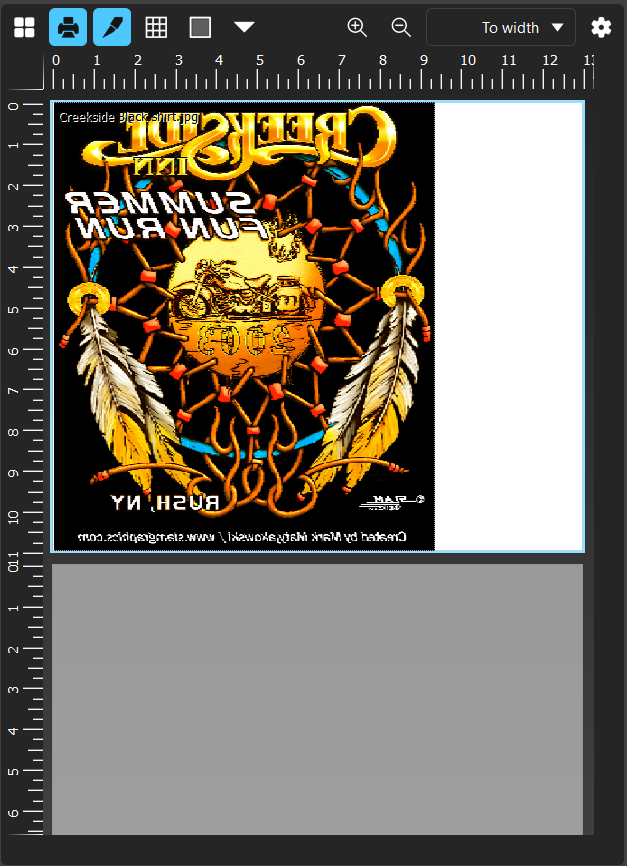
From left to right, the preview window contains the following controls:
-
Pane Control Button.
-
Toggle Print Preview.
-
Toggle grid visibility.
-
Zoom In.
-
Zoom Out.
-
Zoom Level Dropdown menu.
-
Additional Preview Settings
Preview & Page Options
The
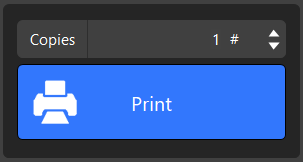
Print and Cut Buttons
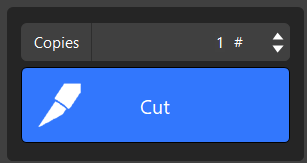
Use the Print button to output the selected job. Using the copies field, you can also quickly adjust the amount of copies of the selected job to be output. This button changes to Cut when a job with cut data has been printed and is in a held state to be cut. These buttons are disabled when no job is selected, and may be hidden depending on if the current operation displays more UI.
Queue Properties and Options
While no job is actively selected, this window displays both the Queue Info and Queue Options.
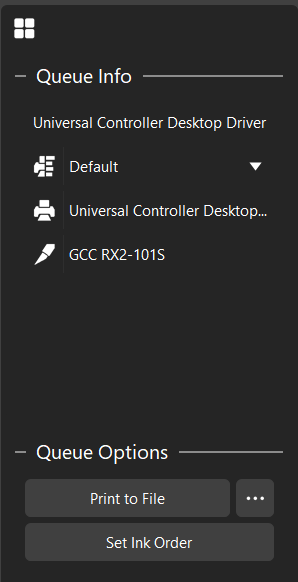
The Queue Info displays the name of the queue, current printmode, and the printing and cutting devices used by the queue. The printmode can be changed by using the dropdown menu.
The Queue Options contains the following:
-
Print to File switch: Toggles the option to print to file. When enabled, this switch is blue in color.
-
Context Menu: Clicking the ellipses will open the Port Settings menu.
-
Set Ink Order: If available, this begins the Ink Order Wizard to assist in setting up new printing devices.
Preview
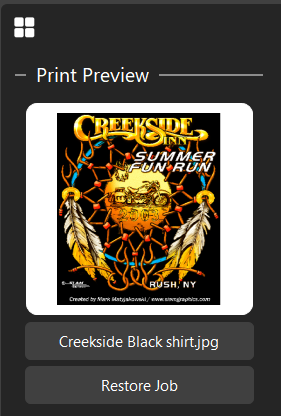
The print preview section displays a preview of the selected job, lists the job name, and provides access to a Restore Job button.
Size, Position, and Options
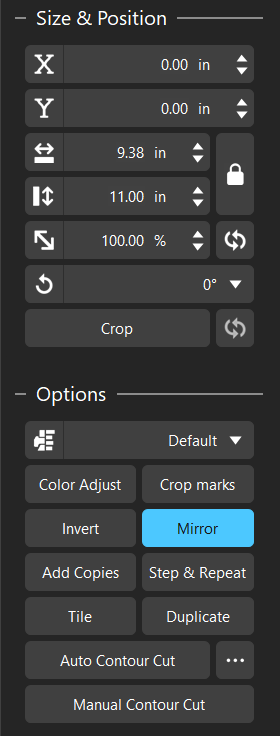
When a job is selected, the Size & Position section and Options section are displayed. Both of these provide quick access to simple job adjustments.
The Size & Position section contains the following controls:
-
X Coordinate: Adjust the X axis positioning of the selected job (Disabled for Auto-Nested jobs).
-
Y Coordinate: Adjust the Y axis positioning of the selected job (Disabled for Auto-Nested jobs).
-
Width Control
-
Height Control
-
Lock Width/Height Ratio
-
Job Scale
-
Reset Scale
-
Job Rotation
-
Crop
-
Reset Crop
The Options section provides access to more in-depth processing options. This section contains the following controls:
-
Printmode Dropdown: Displays the active printmode for the current queue, and provides the ability to change it via the dropdown.
-
Color Adjust: Opens the Easy Color Adjust window.
-
Crop Marks: Adds the default crop marks to the selected job.
-
Invert: Inverts the colors into the negative color space.
-
Mirror: Mirrors the job. Enabled by default for DTF queues.
-
Add Copies.
-
Step & Repeat: Opens the Step & Repeat dialogue.
-
Tile: Open the tiling dialogue. Used for jobs too large for a single print.
-
Duplicate: Duplicates the job a selected number of times. Allows the option of cloning the jobs or creating independent copies.
-
Add Contour Cut.
-
Context Menu: Clicking the ellipses opens the Contour Cut menu.
-
Manual Contour Cut.
Closed Page Options
Within the Closed Page Options section, there are multiple command buttons or job properties that can be easily adjusted:
-
RIP Only: RIPs the job and places it on hold to be released when desired.
-
Print.
-
Cut (if cut data is available).
-
Print and Cut (if cut data is available).
-
Open Page: Opens the Page and Processing options window.
-
Output Copies: Adjust the quantity of copies.
-
Clear Error.
-
View Raw Data.
-
Page Properties: Opens the Job Ticket Properties dialogue window.
Na parte inferior, há três guias: Guia Fila, Guia Página e Guia Trabalho. Esses controles variam com base no dispositivo de saída e na seleção.
Fiery family of software products
Fazendo o melhor por suas máquinas
Copyright © 2026, Fiery LLC. Todos os direitos reservados. Política de Privacidade.