Jobs Menu
The following items are located under the Jobs menu.
|
Use the table to configure |
|
|---|---|
| Restore jobs |
Restore jobs that have been archived from the queue.
|
| Select all | Select all jobs in the selected queue. |
| Select none | |
| Remove | Remove selected job from the queue. |
| Rename | |
| Open page | |
| Find job | Opens the Find Job dialog (see Finding Jobs). |
| Release | Release held selected job. |
| Hold | |
| Abort | Abort processing selected job before it is finished. |
| Clear error | |
| Color adjust |
Opens the Easy Color Adjustments dialog. Note: Available options are dependent on the output device.
|
| Add to layout | Add selected unscheduled jobs in the Reserved section into the active queue. |
| Actions |
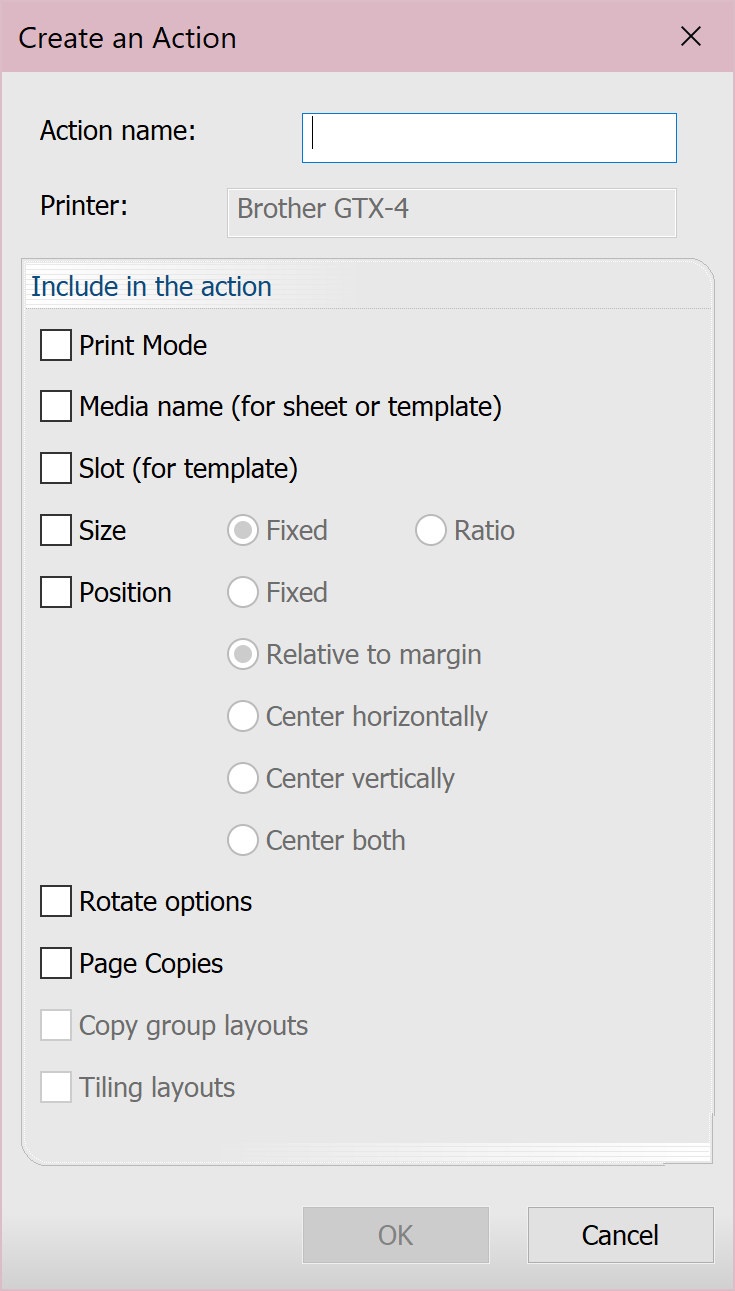
Actions are pre-sets or automations applied on jobs (to handle repetitive layouts or settings). They are saved per device. When you have a job in the queue, after you've applied all the chosen settings, you can create an action to save and apply these settings to other jobs. Each action must be named and can include the following (when selected, uses the current job's settings):
To see the Actions dialog on job import, go to Queue Properties > Layout Manager and select Show Actions dialog on job import. Note: "Actions" are created by you. "Fiery Actions" are automated actions that happen when using the Automatic Job Sorter and are based on the information encoded in selected files. For more information about both, see Using Actions.
|
| RIP only (spool) | |
| Save as | |
| Generate preview image | Generate a preview for the selected. |
| Properties |
Opens the Job Ticket Properties dialog. Configure settings for the selected job. For more information about the settings, see Queue Properties. Note: When you modify job properties, they override the settings in Queue Properties. When a job is archived or pulled back to the queue from the Job Reserve, the job properties are maintained. When no job properties are specified, the Queue Properties are used to process the job. |
| Job color replacement |
Opens the Job Color Replacement dialog. To replace a color, click the color on the image. This is the input color. Use the output color column to make changes, then click Add. When you're finished, click Apply. To measure a new color using a spectrophotometer, click Measure. Click Convert to convert to CMYK. Use the slider to set a color tolerance and opacity. To remove a replacement, click the X. To apply to all incoming jobs for this queue, select the check box next to the replacement color. Click Make this color a device spot to open the Device Spot dialog. See Devices Menu. To view any changes, click Color replacement preview at the top of the preview window or go to Jobs > RIP Only and then View > View raw data (or right-click on the job for both options). Color Removal tab To remove a color, click the color on the image. This is the input color. Use the output color column to make changes, then click Add. When you're finished, click Apply. Use the slider to set a color tolerance. To remove a color, click the X.
|
Fiery family of software products
Making your machines run better
Copyright © 2026, Fiery LLC. All rights reserved. Privacy Policy.