VPM Interface
Die Arbeitsfläche besteht aus den folgenden Elementen.
Symbolleisten-Steuerelemente

Von links nach rechts:
- Öffnen: Öffnet das Dialogfeld Durchsuchen, um ein Bild auszuwählen. Der Auftrag wird der aktuellen Warteschlange hinzugefügt.
- Auftrag entfernen: Die ausgewählten Aufträge werden permanent aus der Warteschlange gelöscht.
- Auftrag freigeben: Gibt einen ausstehenden Auftrag für den Druck frei.
- Auftrag halten: Stoppt den Auftrag und setzt ihn in den Status Halten.
- Job spoolen: Spoolt die Druckdaten, ohne diese an den Drucker zu senden. Klicken Sie mit der rechten Maustaste, um die Druckebenen-Vorschau zu öffnen.
- Auftrag drucken
- Auftrag drucken und schneiden
 Cutting a Job with Registration Marks
 - Auftrag schneiden
- Save As: Save the selected job as a job backup file.
- Auf Seite zentrieren: Zentrieren Sie den Auftrag horizontal und vertikal auf dem Material.
- Horizontal auf Seite zentrieren: Zentrieren Sie den Auftrag horizontal auf dem Material.
- Center at top of page: Center the job horizontally and at the top of the page.
- An Seitenbreite anpassen: Der Auftrag wird skaliert, um ihn der Seitenbreite anzupassen.
- An Seitenhöhe anpassen: Der Auftrag wird skaliert, um ihn der Seitenhöhe anzupassen.
- An Seite anpassen: Der Auftrag wird skaliert, um die Seitengrenzen nicht zu überschreiten.
- Fehler löschen: Falls ein Fehler auftritt, wird das Fehlerprotokoll gelöscht.
- Aufträge abbrechen: Stoppt die Bearbeitung der Aufträge.
Works on TCP/IP and USB devices. - Warteschlange starten/anhalten: Verarbeitet die Aufträge der ausgewählten Warteschlange, sobald diese empfangen werden / Stoppt alle Aufträge der ausgewählten Warteschlange, unabhängig von den Termineinstellungen. Status sichtbar in der oberen linken Ecke der Queue.
- Den Spooler starten/anhalten: Verarbeitet die Aufträge der ausgewählten Warteschlange, sobald diese empfangen werden / Stoppt alle Aufträge der ausgewählten Warteschlange, unabhängig von den Termineinstellungen.
- Warteschlange konfigurieren: Öffnen Sie das Dialogfeld Warteschlangeneigenschaften für die ausgewählte Warteschlange.
- Druckerstatus und Einstellungen: Fragen Sie den Drucker ab.
- Printer Readme: Opens the driver's Readme file if available. The button will highlight in red in the event a Readme file is included but has not yet been opened.
- Verbrauchskosten: Öffnen Sie das Dialogfeld Verbrauchskosten im Dialogfeld Warteschlangeneigenschaften.
- Auftrag finden: Geben Sie einen Auftragsnamen oder Barcode ein, um den Auftrag in der Warteschlange zu finden (siehe Barcode-Unterstützung, Suchen von Aufträgen).
- Farbersatz: Ersetzen Sie eine bestimmte Farbe oder einen bestimmten Farbbereich (siehe Farbersatz).
-
Create Gang Sheet: Opens the Create Gang Sheet dialogue window (see Gang Sheets).
- Passermarken-Setup: Öffnet die Registerkarte Schnittmarken in Warteschlangeneigenschaften.
- Kamera-Kalibrierung: Zum Drucken eines Kalibrierungsdrucks und um eine Kamera für die Ausrichtung zu kalibrieren (siehe Visual Print Positioning).
- Compass: Klicken Sie auf Compass die kontextsensitive Hilfe zu öffnen.
Warteschlangen
Eine Warteschlange ist ein Speicher, in dem Aufträge vor der Verarbeitung verwaltet werden. Jede Warteschlange ist einem Gerät, einem Druckmodus und/oder einem Material zugeordnet.
Hinweis: Die maximale Anzahl von Jobs, die eine Warteschlange enthalten kann, beträgt 2000.

On the top left side of the  ).
).
Weitere Informationen zur Konfiguration von Eigenschaften für eine ausgewählte Warteschlange finden Sie unter Warteschlangeneigenschaften.
Active Job List
Under the queue tabs, the jobs are shown in a list, with reserved and completed jobs moving out to the Job Reserve List once completed.
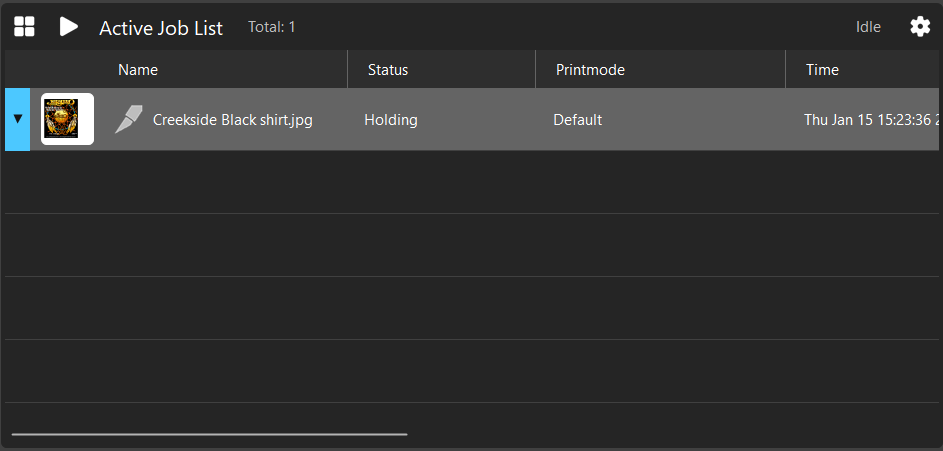
From left to right, the active job menu contains the following controls or information displays:
-
Pane Control button.
-
Run/Pause Queue toggle.
-
Total number of jobs in the active queue.
-
Queue status.
-
Active Job List settings: Open to adjust preview size or to sync headers to match the Job Reserve List.
Job Reserve List
Once jobs are processed, they are moved from the Active Job List to the Job Reserve List.
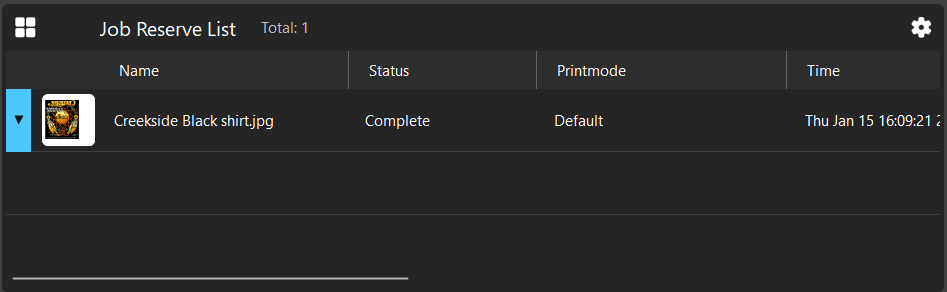
Jobs can be dragged from the Job Reserve List back into the Active Job List should the job need to be redone or extra copies made. This pane also contains:
-
Pane Control Button.
-
Total number of jobs in the reserve list
-
Job Reserve List settings: Open to adjust job preview size or to sync headers to match the Active Job List.
Vorschaumanager
On the top right side of the
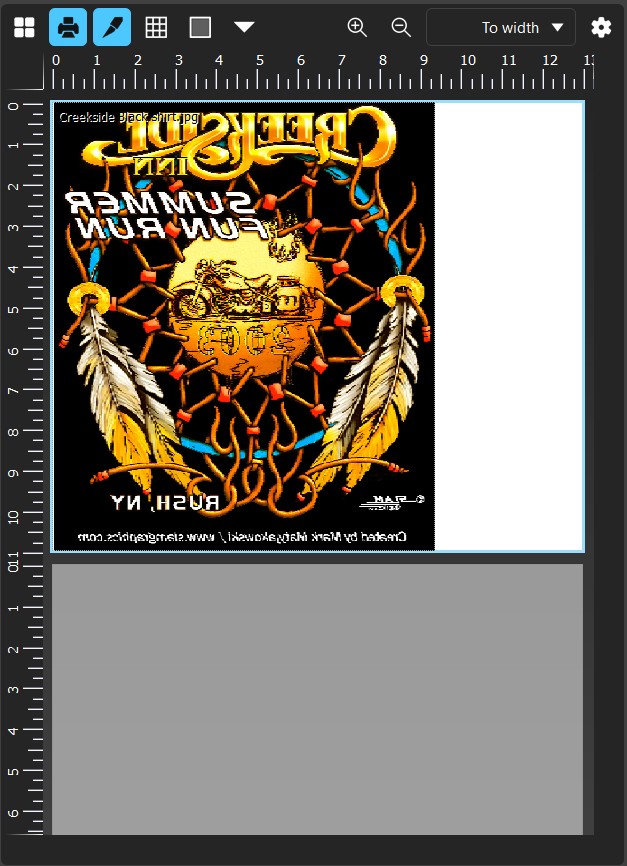
From left to right, the preview window contains the following controls:
-
Pane Control Button.
-
Toggle Print Preview.
-
Toggle grid visibility.
-
Zoom In.
-
Zoom Out.
-
Zoom Level Dropdown menu.
-
Additional Preview Settings
Preview & Page Options
The
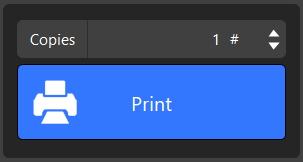
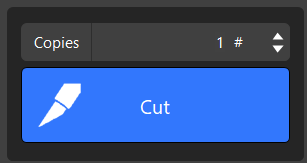
Print and Cut Buttons
Use the Print button to output the selected job. Using the copies field, you can also quickly adjust the amount of copies of the selected job to be output. This button changes to Cut when a job with cut data has been printed and is in a held state to be cut. These buttons are disabled when no job is selected, and may be hidden depending on if the current operation displays more UI.
Queue Properties and Options
While no job is actively selected, this window displays both the Queue Info and Queue Options.
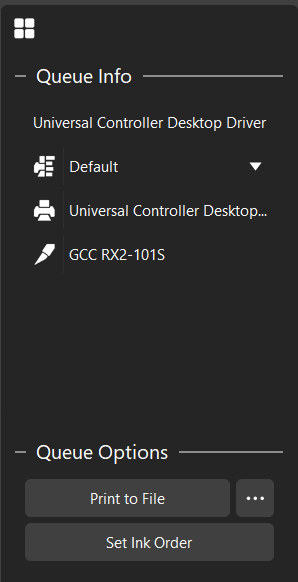
The Queue Info displays the name of the queue, current printmode, and the printing and cutting devices used by the queue. The printmode can be changed by using the dropdown menu.
The Queue Options contains the following:
-
Print to File switch: Toggles the option to print to file. When enabled, this switch is blue in color.
-
Context Menu: Clicking the ellipses will open the Port Settings menu.
-
Set Ink Order: If available, this begins the Ink Order Wizard to assist in setting up new printing devices.
Preview
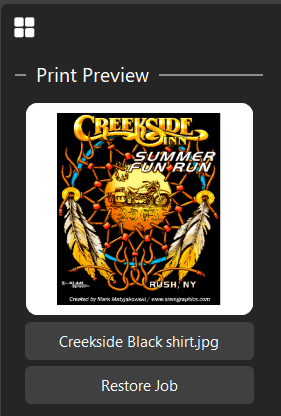
The print preview section displays a preview of the selected job, lists the job name, and provides access to a Restore Job button.
Size, Position, and Options
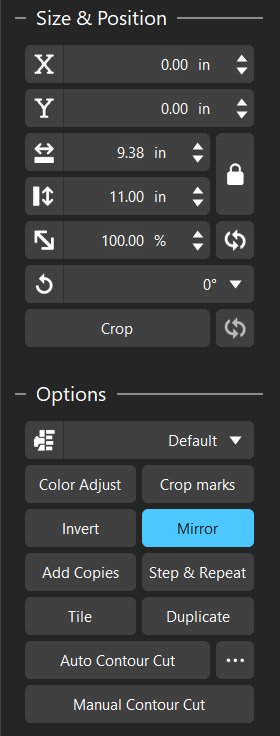
When a job is selected, the Size & Position section and Options section are displayed. Both of these provide quick access to simple job adjustments.
The Size & Position section contains the following controls:
-
X Coordinate: Adjust the X axis positioning of the selected job (Disabled for Auto-Nested jobs).
-
Y Coordinate: Adjust the Y axis positioning of the selected job (Disabled for Auto-Nested jobs).
-
Width Control
-
Height Control
-
Lock Width/Height Ratio
-
Job Scale
-
Reset Scale
-
Job Rotation
-
Crop
-
Reset Crop
The Options section provides access to more in-depth processing options. This section contains the following controls:
-
Printmode Dropdown: Displays the active printmode for the current queue, and provides the ability to change it via the dropdown.
-
Color Adjust: Opens the Easy Color Adjust window.
-
Crop Marks: Adds the default crop marks to the selected job.
-
Invert: Inverts the colors into the negative color space.
-
Mirror: Mirrors the job. Enabled by default for DTF queues.
-
Add Copies.
-
Step & Repeat: Opens the Step & Repeat dialogue.
-
Tile: Open the tiling dialogue. Used for jobs too large for a single print.
-
Duplicate: Duplicates the job a selected number of times. Allows the option of cloning the jobs or creating independent copies.
-
Add Contour Cut.
-
Context Menu: Clicking the ellipses opens the Contour Cut menu.
-
Manual Contour Cut.
Closed Page Options
Within the Closed Page Options section, there are multiple command buttons or job properties that can be easily adjusted:
-
RIP Only: RIPs the job and places it on hold to be released when desired.
-
Print.
-
Cut (if cut data is available).
-
Print and Cut (if cut data is available).
-
Open Page: Opens the Page and Processing options window.
-
Output Copies: Adjust the quantity of copies.
-
Clear Error.
-
View Raw Data.
-
Page Properties: Opens the Job Ticket Properties dialogue window.
Unten finden Sie drei Registerkarten: Registerkarte Warteschlange, Registerkarte Seite und Registerkarte Auftrag. Diese Steuerelemente variieren je nach Ausgabegerät und Auswahl.
Fiery family of software products
Making your machines run better
Copyright 2026 Fiery LLC. Alle Rechte vorbehalten. Datenschutzrichtlinie.