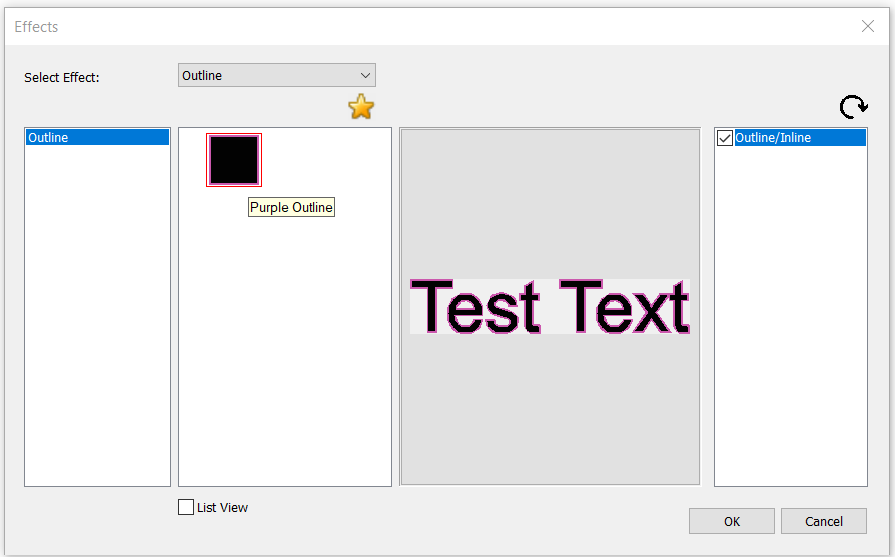
Effects Window
The Effects Window provides a catalog of effects to apply to objects. In addition to the catalog included, the Effects Window contains a preview of the selected text or object, and a list of currently active effects.
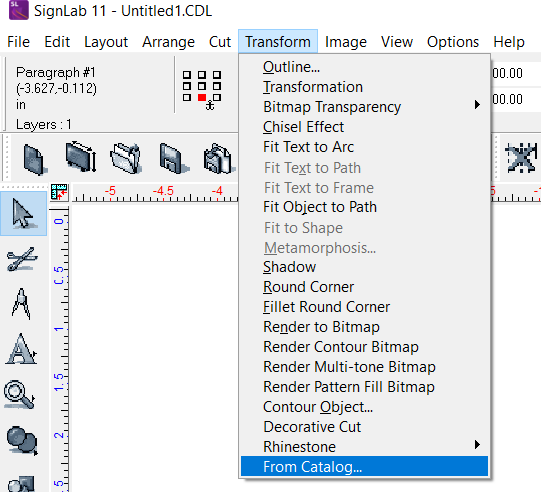
To open the Effects Window, select the desired vector object or text, then navigate to Transform > From Catalog.
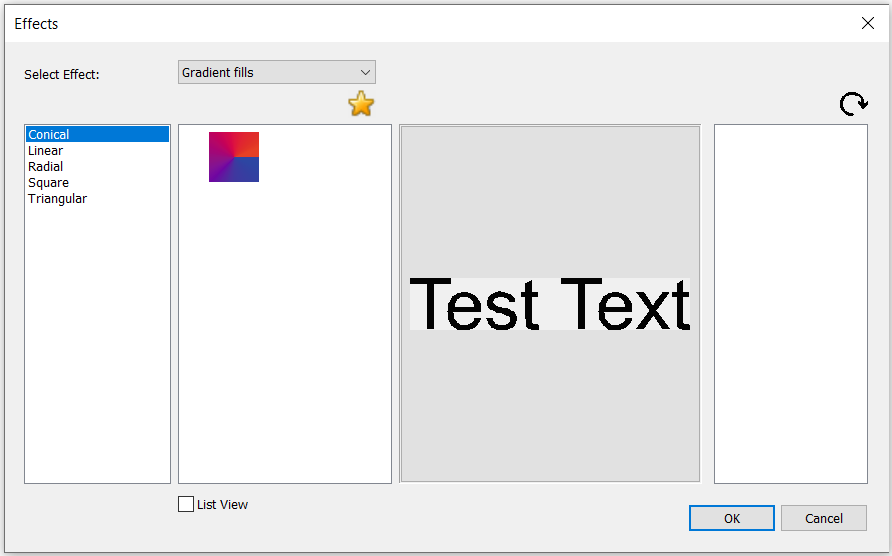
At the top of the Effect Window is a dropdown box. This dropdown is used to select the category of effect from the existing catalog. The rest of the Effect Window can be broken down into four sections, from left to right:
-
Effect Sub-Category
-
Effect Preview
-
Image Preview
-
Active Effects List
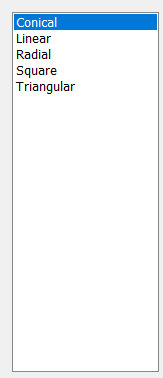
The effect sub-category section breaks down the currently selected category into labelled sections to make browsing the effects easier. As an example, gradient fill effects have sub-categories by fill direction, such as linear, radial, or square.
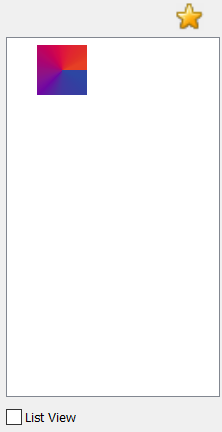
The effects preview section provides a quick view of all individual effects available under the active sub-category. The gold star above the previews allows you to mark the selected effect as a favorite. Marking an effect this way adds the star to the preview thumbnail. The List View checkbox toggles the effect preview thumbnails to a text list.
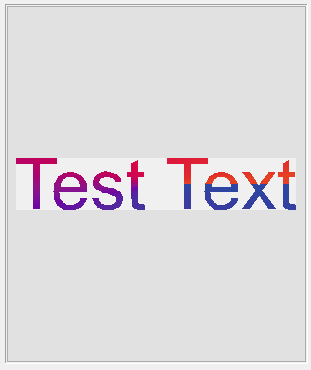
The image preview showcases the selected object or text with all active selected effects.
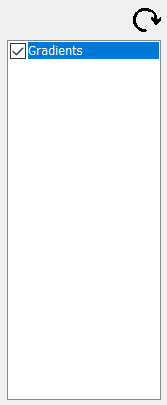
The active effect List section shows all selected effects. Each effect has a toggle checkbox, providing the ability to quickly view the outcomes of mixing various effects. Above the active effects list is a Reset Effects button. Clicking the Reset Effects button clears all active effects.
When you’re happy with the effects chosen, click the OK button to apply the selected effects and close the Effects Window.

Users can add effects to their existing catalog. The following effect types can be saved to the catalog:
-
Gradient Fills
-
Multi-Spot Gradient Fills
-
Transparency Fills
-
Outline
-
Shadows
Each of these effects now has a Save to Catalog button located in their respective SmartBar.

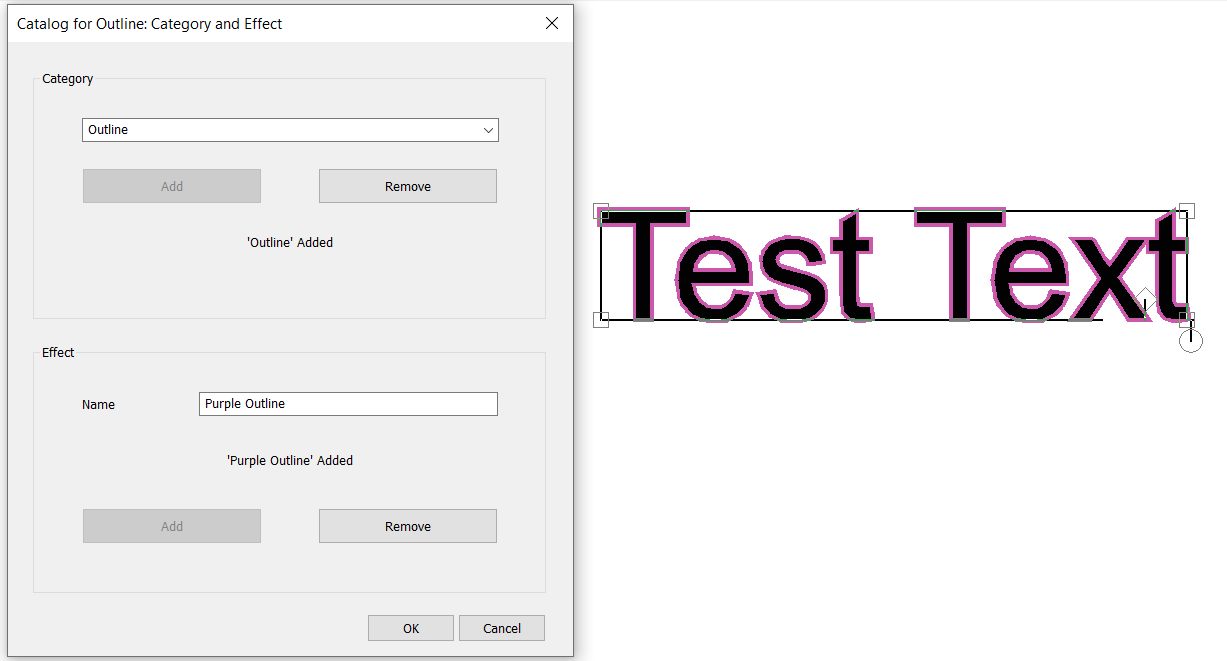
When Save to Catalog is clicked, a window will open to select the category and set the effect name.
-
Select a category from the dropdown menu. If there is no valid category for the effect, type in the desired category name and click Add
-
Enter the name of the effect and click Add
-
Click OK to finalize adding the effect to the catalog
Once completed, the effect should now be viewable and selectable in the effects catalog.
