Calibration
Print mode calibration ensures consistent color between devices. There are differences between printers and their environment that can create visible differences in output. Separate CMYK channels are calibrated to output a linear density from 0-100% (seen in the CMYK Color Adjustments tab of a print mode).
Note: Prior to starting, ensure you have the correct media, printer, and print mode, as well as a spectrophotometer.
Step 1

- Go to Devices > Manage Print Modes.
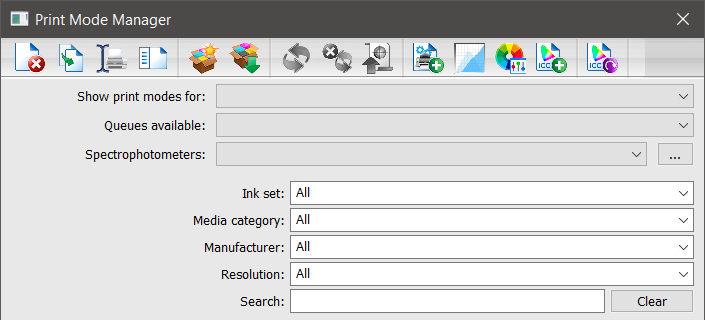
The Print Mode Manager dialog appears. - Use the Show print modes for drop-down to select a device.
- Use the Queues available drop-down to select a queue.
- Use the Spectrophotometers drop-down to select your spectrophotometer.
- [Optional] Use the Ink set, Media category, Manufacturer, and Resolution drop-down lists to further narrow options and use the search field to find the print mode.
- Select a print mode from the list below.
- Click Calibration.
The Name Print Mode dialog appears. - Enter a name and click OK.
Note: The name is automatically appended by “Calibration” to help identify your selection.
The Calibration Wizard appears. - Use the Page drop-down to select a page size.
Step 2
Printing, Loading, Measuring, and Verifying a Color Chart
Step 3
- When finished printing, loading, and measuring charts, click Next.
The Calibration curves page appears. - Select a Calibration curves creation method.
The Summary page appears with your file locations. - Click Finish.
Next: Create ICC
Note: If you are going through the Full Print Mode Creation, go straight to Step 2.