Full Print Mode Creation
Full print mode creation enables you to configure a new print mode, based on an existing print mode, including ICC creation.
Note: Prior to starting, ensure you have the correct media, printer, and print mode, as well as a spectrophotometer.
Step 1
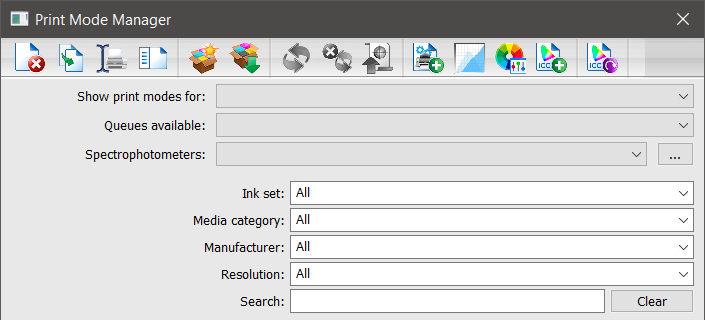
- Go to Devices > Manage Print Modes.
The Print Mode Manager dialog appears. - Use the Show print modes for drop-down to select a device.
- Use the Queues available drop-down to select a queue.
- Use the Spectrophotometers drop-down to select your spectrophotometer.
- [Optional] Use the Ink set, Media category, Manufacturer, and Resolution drop-down lists to further narrow options and use the search field to find the print mode.
- Select a print mode from the list below.
- Click Full Print Mode Creation.
The Name Print Mode dialog appears. - Enter a name and click OK.
Note: The name is automatically appended by “New” to help identify your selection. - To set maximum white ink, click Yes.
The Maximum White Ink Wizard appears.
See: Set maximum white ink: Opens the Set Maximum White Ink dialog.
If No selected, continue to step 2.
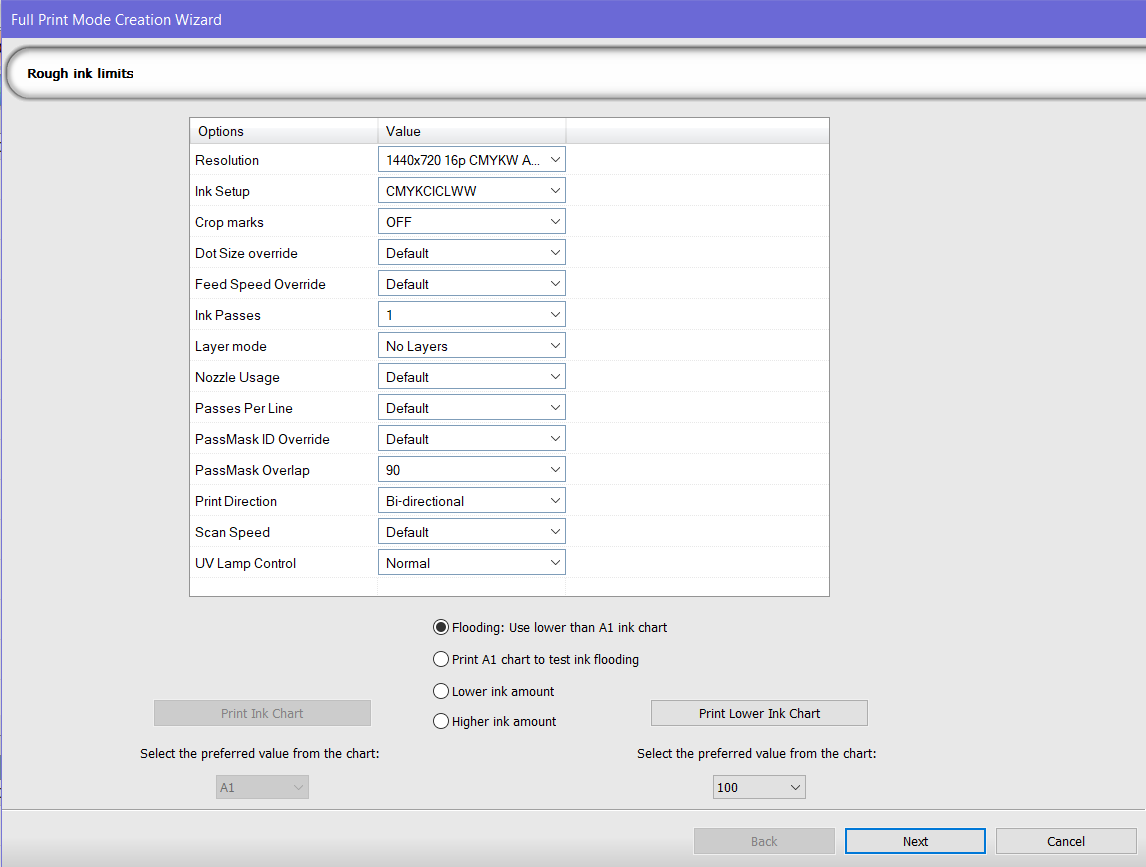
The Full Print Mode Creation Wizard appears and displays the Rough ink limits.
Step 2
- Check the settings, on 2 bit per pixel devices, select Lower ink amount or Higher ink amount, then click Print Ink Chart.
Recommended: If flooding is a possibility due to multiple inks or a high resolution, select Print A1 chart to test for flooding and only the A1 chart will print. This option is device dependent. - [Optional] If flooding occurs, select Flooding: Use lower than A1 ink chart.
- In the queue, select the jobs and click Print Job.
Jobs may be nested depending on your queue settings. - If there is too much ink, select Too much ink and click Print Lower Ink Chart.
- In the Wizard, select the preferred value from the chart, then click Next.
The Fine ink limits page appears.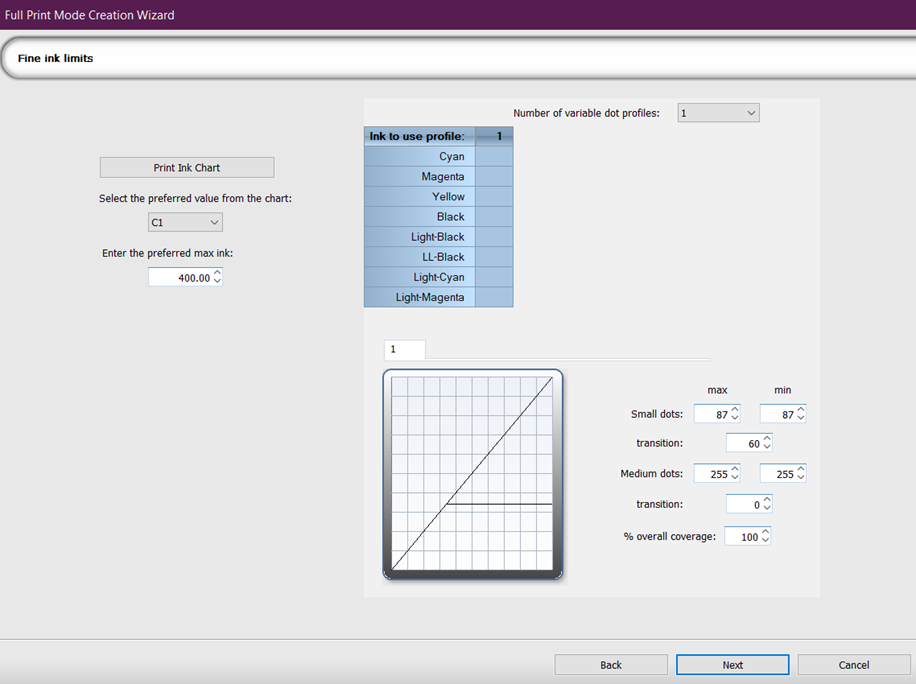
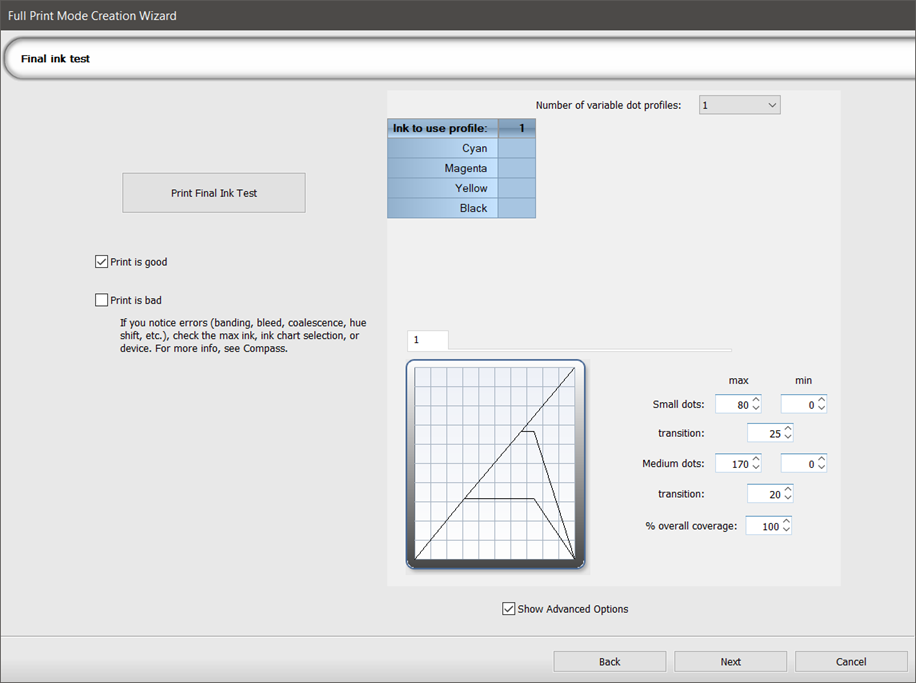
- Fence point (2 bpp): [Optional] Use the variable dot profiles to set fence points for small and medium dots, their transition, and % overall coverage.
Transfer Curve (1 bpp): [Optional] Use the drop-down to select a CMYK value and use the transfer curve to adjust values. - Click Print Ink Chart.
- In the queue, select the jobs and click Print Job.
Jobs may be nested depending on your queue settings. - In the Wizard, select the preferred value from the chart.
- Enter the preferred max ink, then click Next.
A general best practice is to aim within the range of 280-320%.
The Final ink test page appears.
Determining Preferred Value
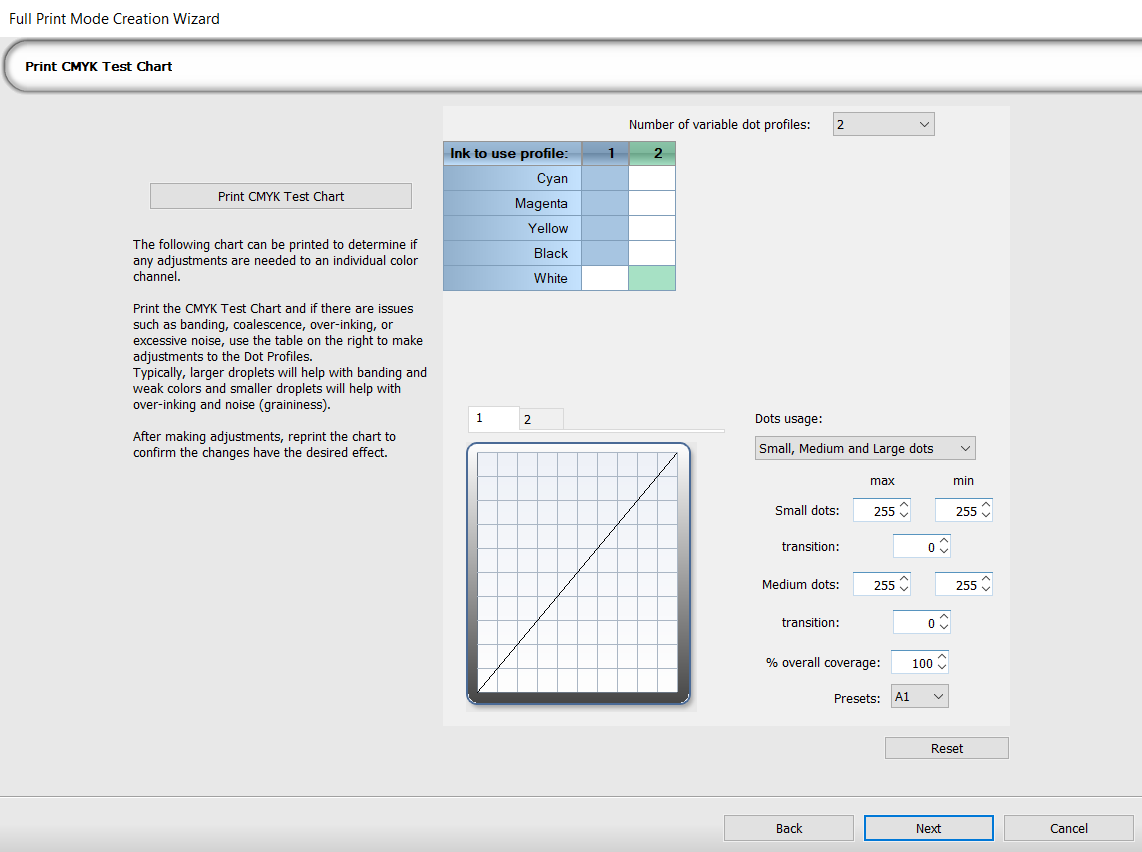
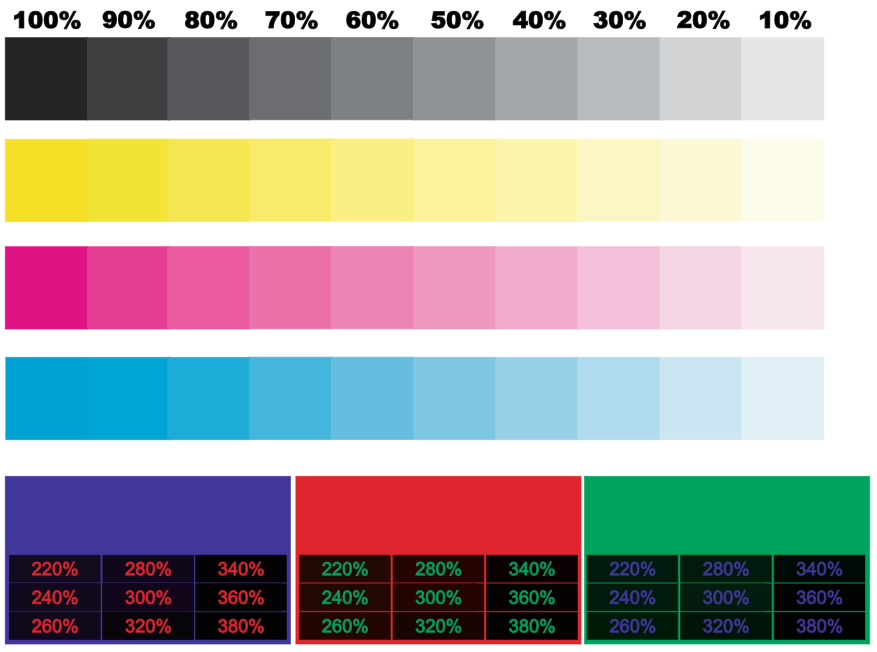
Print the provided CMYK ink chart. This chart contains prints for each individual CMYK channel, as well as an RGB section beneath to check the color mixing.
- In the top part of the ink chart, the preferred value should have rich and uniform ink (good saturation).
- If you see banding, coalescence, or hue shifts, check the ink, device, and ink chart selection.
- If you see banding, coalescence, or hue shifts, check the ink, device, and ink chart selection.
- In the bottom part of the ink chart, the preferred value should have clear numbers with little to no bleed.
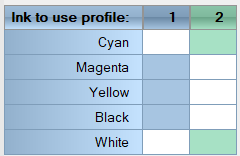
In the event an individual channel requires adjustment, use the Ink to Use Profile box to set channels to their own profile. For example, if the Cyan needs an adjustment, a second profile can be created and used for Cyan, while keeping the Magenta, Yellow, and Black channels under profile 1.
Step 3
- Click Print Final Ink Test.
- If you are:
- Satisfied with your ink settings, select Print is good.
The Measuring charts: calibration page appears: go to Calibration: Step 2. - Unsatisfied with your ink settings, select Print is bad.
The Fine ink limits page appears to review settings.
- Satisfied with your ink settings, select Print is good.
- [Optional] Click Show Advanced Options and configure ink limits (see Step 2: #4) per channel, with the option to select an ink amount preset.
Next: Calibration
Note: If you are going through the Full Print Mode Creation, go straight to Step 2.
