Supplementary English-Only Training Materials
Note: These materials are offered only in English as supplementary examples for a deeper dive intoFiery LLC products.
Note: These materials are offered only in English as supplementary examples for a deeper dive into
Clip Art Viewer and Distressed Effect
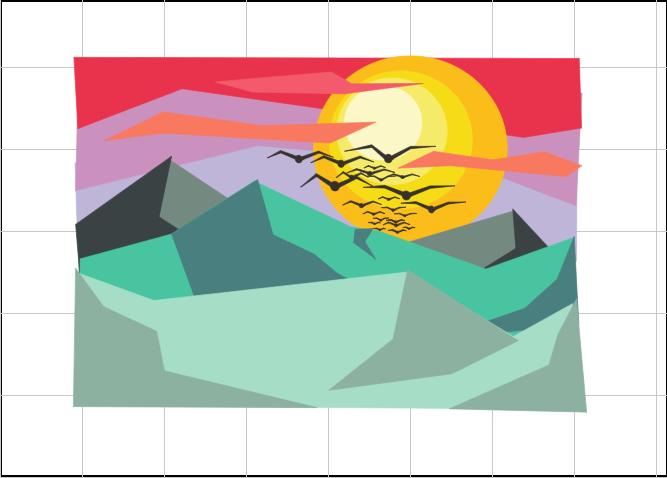
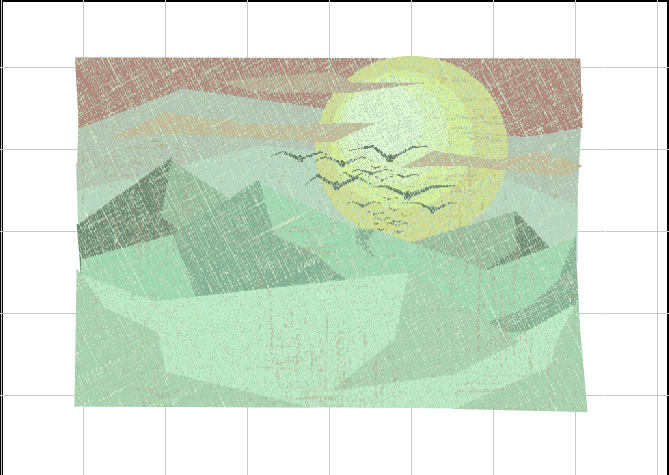
This example shows the Clip Art Viewer and the Distressed effect filter.
Clip Art Viewer
- In a new workspace, go to Layout > Clip Art Viewer.
- In the ClipArt Viewer dialog, select the OpenClipart tab.
- Enter a search term to browse the clip art pages.
- To select an image, double-click it, and wait for the ClipArt Viewer dialog to close.
- In the workspace, when the cursor turns into the paste view, click to place the clip art.
The PDF/SVG Import Options dialog appears. - Select options for the clip art and click OK.
The clip art is placed on the workspace as an SVG (vector-based) file, which is fully editable using the Graphics Edit tools.

Notes about clip art:
- Browse local and network graphics
- Add to favorites function
- With an Internet connection, use OpenClipart for more options
- Search functionality
Distressed Effect
- Select the clip art on your workspace, then go to Image > Fiery effects > Distressed.
The Plug-in dialog appears. See Plugin Dialog. - Select options in the Plug-in dialog and click OK.
The Distressed dialog appears. - Select image desaturation, tint color, preset masks, and generated texture. The preview displays the effect as the slider is adjusted.
Hint: To see the original image, set the slider to 0. - If you’ve set a value higher than 0 for preset mask, select the mask from the list.
- Select threshold light or dark colors and set the threshold, scale, and rotation.
- For more tint options, select Advanced Mode.
- Select the Generated Texture tab to select a texture color, horizontal and vertical streaks, thickness, noise, scale size, and texture contrast.
- When finished applying effects, click OK.
The clip art has a distressed effect.
