VPM
Interface
The following elements make up the workspace.
Toolbar Controls

From left to right:
- Open: Open the Browse dialog and select an image. The job is added in the current queue.
- Remove job: Permanently delete the selected job(s) from the queue.
- Release job: Release a job on hold for printing.
- Hold job: Stop the job and place on hold.
- Spool job: Spool the print data without sending to the printer. Right-click for options to view raw data.
- Print job
- Print and cut job
 Cutting a Job with Registration Marks
 - Cut job
- Save As: Save the selected job as a job backup file.
- Center on page: Center the job horizontally and vertically on the material.
- Center horizontally on page: Center the job horizontally on the material.
- Center at top of page: Center the job horizontally and at the top of the page.
- Fit to page width: Scale the job to match page width.
- Fit to page height: Scale the job to match page height.
- Fit to page: Scale the job to page size without exceeding the bounds.
- Clear errors: In case an error occurs, click to clear the error(s).
- Abort jobs: Stop processing the job(s).
Works on TCP/IP and USB devices. - Start/stop queue: For the selected queue, process jobs as they are received or stop all jobs regardless of scheduling settings. Status shown in top left corner of queue.
- Start/Stop Cut Spooler: For the selected queue, process jobs as they are received, or stop jobs regardless of scheduling settings.
- Configure queue: For the selected queue, open the Queue Properties dialog.
- Printer status and settings: Query the printer.
- Printer Readme: Opens the driver's Readme file if available. The button will highlight in red in the event a Readme file is included but has not yet been opened.
- Costing: Open the Costing tab in the Queue Properties dialog.
- Find job: Enter a job name or barcode to locate the job in the queue (see Barcode Support, Finding Jobs).
- Job color replacement: Substitute a specific color or color range (see Job color replacement).
-
Create Gang Sheet: Opens the Create Gang Sheet dialogue window (see Gang Sheets).
- Production Markup: Opens the Production Markup tab of Queue Properties.
- Calibrate Camera: Click to print a calibration print and to calibrate a camera for alignment (see Visual Print Positioning).
- Compass: Click to open context-sensitive help.
Queues
A queue is a repository that manages jobs prior to processing them. Each queue is based on a device, print mode, and/or media.
Note: The maximum number of jobs a queue can hold is 2000.

On the top left side of the  ).
).
For more information about configuring properties for a selected queue, see Queue Properties.
Active Job List
Under the queue tabs, the jobs are shown in a list, with reserved and completed jobs moving out to the Job Reserve List once completed.
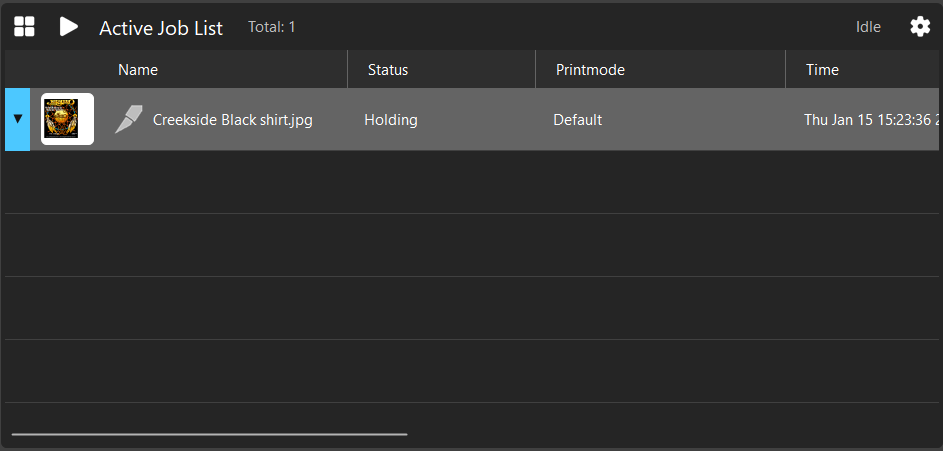
From left to right, the active job menu contains the following controls or information displays:
-
Pane Control button.
-
Run/Pause Queue toggle.
-
Total number of jobs in the active queue.
-
Queue status.
-
Active Job List settings: Open to adjust preview size or to sync headers to match the Job Reserve List.
Job Reserve List
Once jobs are processed, they are moved from the Active Job List to the Job Reserve List.
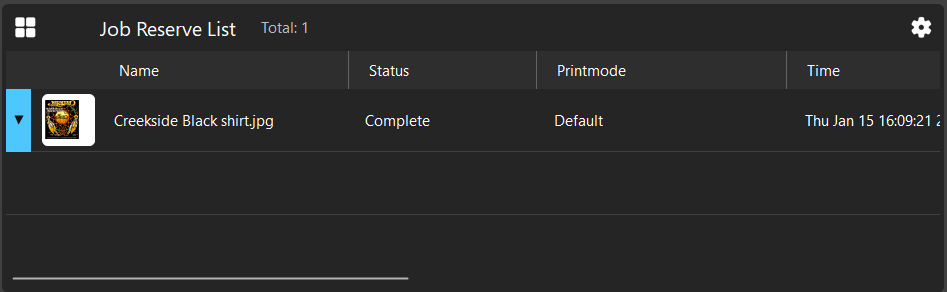
Jobs can be dragged from the Job Reserve List back into the Active Job List should the job need to be redone or extra copies made. This pane also contains:
-
Pane Control Button.
-
Total number of jobs in the reserve list
-
Job Reserve List settings: Open to adjust job preview size or to sync headers to match the Active Job List.
Preview Manager
On the top right side of the
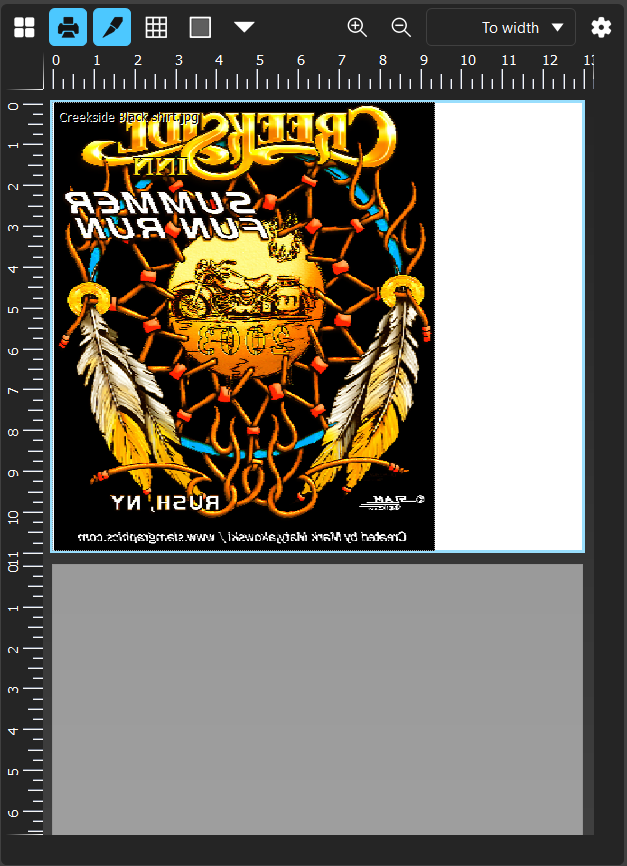
From left to right, the preview window contains the following controls:
-
Pane Control Button.
-
Toggle Print Preview.
-
Toggle grid visibility.
-
Zoom In.
-
Zoom Out.
-
Zoom Level Dropdown menu.
-
Additional Preview Settings
Preview & Page Options
The
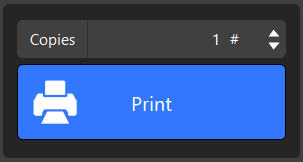
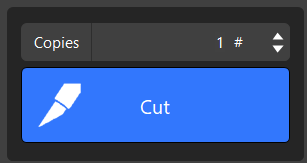
Print and Cut Buttons
Use the Print button to output the selected job. Using the copies field, you can also quickly adjust the amount of copies of the selected job to be output. This button changes to Cut when a job with cut data has been printed and is in a held state to be cut. These buttons are disabled when no job is selected, and may be hidden depending on if the current operation displays more UI.
Queue Properties and Options
While no job is actively selected, this window displays both the Queue Info and Queue Options.
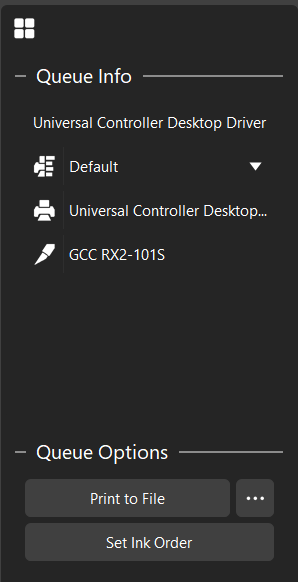
The Queue Info displays the name of the queue, current printmode, and the printing and cutting devices used by the queue. The printmode can be changed by using the dropdown menu.
The Queue Options contains the following:
-
Print to File switch: Toggles the option to print to file. When enabled, this switch is blue in color.
-
Context Menu: Clicking the ellipses will open the Port Settings menu.
-
Set Ink Order: If available, this begins the Ink Order Wizard to assist in setting up new printing devices.
Preview
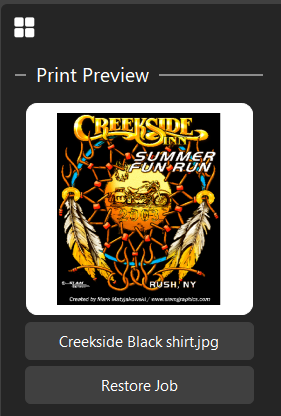
The print preview section displays a preview of the selected job, lists the job name, and provides access to a Restore Job button.
Size, Position, and Options
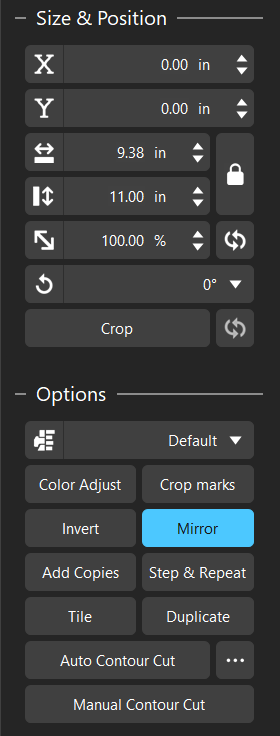
When a job is selected, the Size & Position section and Options section are displayed. Both of these provide quick access to simple job adjustments.
The Size & Position section contains the following controls:
-
X Coordinate: Adjust the X axis positioning of the selected job (Disabled for Auto-Nested jobs).
-
Y Coordinate: Adjust the Y axis positioning of the selected job (Disabled for Auto-Nested jobs).
-
Width Control
-
Height Control
-
Lock Width/Height Ratio
-
Job Scale
-
Reset Scale
-
Job Rotation
-
Crop
-
Reset Crop
The Options section provides access to more in-depth processing options. This section contains the following controls:
-
Printmode Dropdown: Displays the active printmode for the current queue, and provides the ability to change it via the dropdown.
-
Color Adjust: Opens the Easy Color Adjust window.
-
Crop Marks: Adds the default crop marks to the selected job.
-
Invert: Inverts the colors into the negative color space.
-
Mirror: Mirrors the job. Enabled by default for DTF queues.
-
Add Copies.
-
Step & Repeat: Opens the Step & Repeat dialogue.
-
Tile: Open the tiling dialogue. Used for jobs too large for a single print.
-
Duplicate: Duplicates the job a selected number of times. Allows the option of cloning the jobs or creating independent copies.
-
Add Contour Cut.
-
Context Menu: Clicking the ellipses opens the Contour Cut menu.
-
Manual Contour Cut.
Closed Page Options
Within the Closed Page Options section, there are multiple command buttons or job properties that can be easily adjusted:
-
RIP Only: RIPs the job and places it on hold to be released when desired.
-
Print.
-
Cut (if cut data is available).
-
Print and Cut (if cut data is available).
-
Open Page: Opens the Page and Processing options window.
-
Output Copies: Adjust the quantity of copies.
-
Clear Error.
-
View Raw Data.
-
Page Properties: Opens the Job Ticket Properties dialogue window.
At the bottom, there are three tabs: Queue tab, Page tab, and Job tab. These controls vary based on the output device and selection.
Fiery family of software products
Making your machines run better
Copyright © 2026, Fiery LLC. All rights reserved. Privacy Policy.